Fixing the Raised Z-Seam Line on Round Prints (Prusa CORE One)
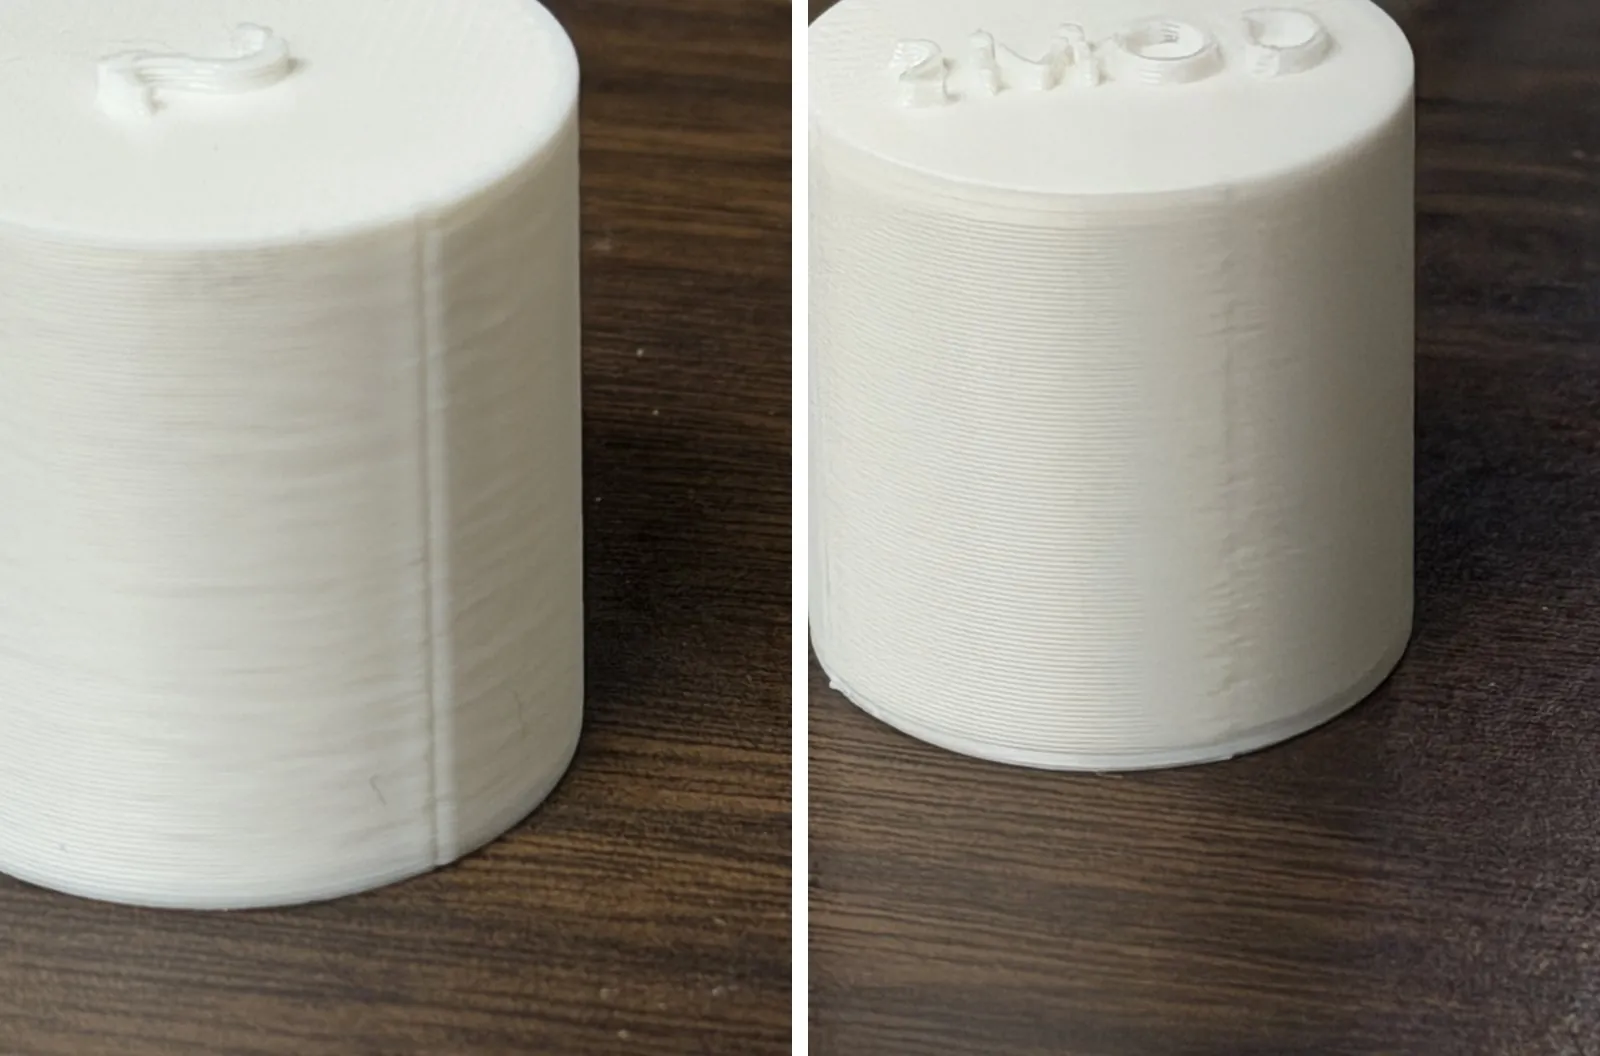
Every layer of an FDM print has to start and stop somewhere. On a part with corners, the slicer can hide that point in a corner. On a cylinder there's nowhere to hide it, and the start and stop points stack up into a vertical line called the Z-seam. Every round part I've printed since I bought my CORE One has had one, and it wasn't just visible. It stuck out far enough to measure.
If your round prints have a line, ridge or bump running up one side, in the same spot on every layer, and you can feel it when you run a fingernail across it, that's the Z-seam. Some people call it a seam scar or a zipper. If your seam is set to Random, the same problem shows up as zits, small bumps scattered all over the part.
The problem
I printed a test plate of cubes and 1-inch cylinders in Generic PLA with Prusa's 0.25mm BALANCED profile in PrusaSlicer 2.9.6, on the 0.4 mm HF nozzle at 220 °C, with the seam left on Aligned. Every cylinder came off with a clean, raised ridge running from the bottom to the top.
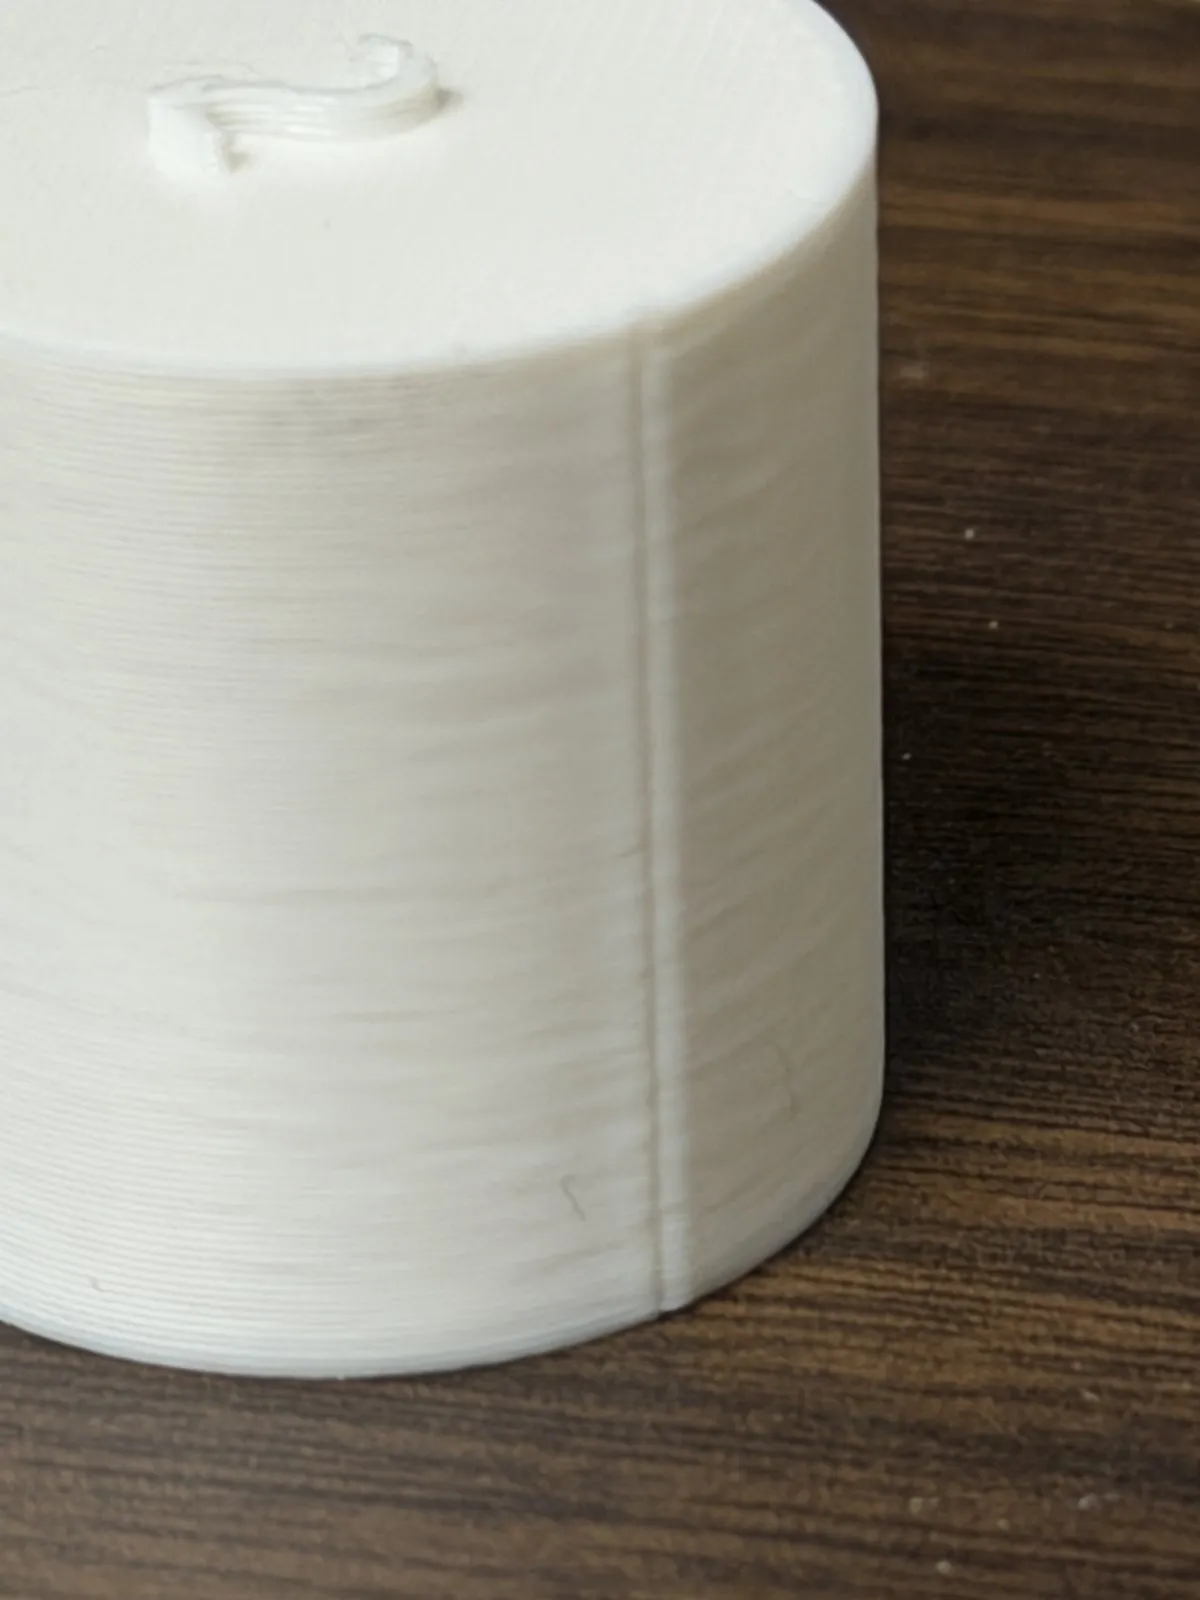
I measured the ridge three different ways:
| Method | Ridge height |
|---|---|
| Calipers | 0.006" |
| 3D scan (0.5 mm resolution) | 0.007" |
| Scan sections lofted in Quick Surface, then circles fitted in Blender | 0.008" |
All three agree to within 0.002", so it's real: about 0.15 to 0.2 mm, or most of a 0.25 mm layer. The cubes measured about 4 times better than the cylinders, because the slicer tucks their seam into a corner.
Why it happens
At the seam, the nozzle stops at the end of the outer wall, retracts, moves on, and later starts the next loop at the same spot. In the stock profile, several settings make that spot worse:
- The outer wall runs at the hotend's limit. The outer wall is set to 200 mm/s. With a 0.5 mm wide line at 0.25 mm layers, that needs about 22 mm³/s, more than the 21 mm³/s limit in the filament profile, so the slicer slows it to about 188 mm/s and runs it right at the limit. The nozzle is under a lot of pressure, and when it stops at the end of the loop, that pressure pushes out extra plastic right at the seam.
- The retraction happens with the nozzle parked on the seam. Wipe while retracting is off, so the whole retraction happens while the nozzle sits on the end of the loop.
- The inner wall's seam is directly behind the outer one. With two walls, the inner loop also starts and stops at the seam. Any blob on the inner loop pushes the outer wall out at exactly the same spot, and the seam bulges out.
- Every loop has a hard start and a hard stop. A seam is a butt joint, and any extra plastic at either end shows up as a ridge.
The fix
The usual advice for a Z-seam on a cylinder is to set the seam position to Random. That doesn't remove the extra plastic. It just spreads it around the part, and instead of one line you get zits: small bumps scattered all over the surface, one wherever a layer starts and stops. It's the same problem in a different pattern. I wanted the seam itself to be smaller, so I made four changes in PrusaSlicer, all available in 2.9:
- Scarf seam. Go to Print Settings, Layers and perimeters, Seam, and set Scarf joint placement to Contours. Leave Scarf joint only on smooth perimeters on, so parts with corners keep their corner seams, and keep the default 20 mm scarf length. Instead of a butt joint, each outer loop now starts with a ramp that rises in height and flow over 20 mm, and the end of the loop finishes on top of that ramp. There's no single point where everything starts and stops.
- Staggered inner seams. Turn on Staggered inner seams in the same section. The inner wall's seam moves away from the outer one, so it can't push the outer wall out.
- A slower outer wall. Go to Print Settings, Speed, and change External perimeters from 200 to 100 mm/s. That's about 11 mm³/s, roughly half the flow, so there's much less extra plastic when the nozzle stops. Only the outer wall slows down, so print time barely changes.
- Wipe while retracting. Go to Printer Settings, Extruder 1, Retraction, and turn on Wipe while retracting. Now the nozzle keeps moving back along the wall it just printed while it finishes the retraction, instead of lifting straight off the seam, so whatever oozes out is smeared along the wall instead of piling up in one spot.
If you'd rather paste config lines, these are the matching .ini keys:
scarf_seam_placement = contours
scarf_seam_only_on_smooth = 1
staggered_inner_seams = 1
external_perimeter_speed = 100
wipe = 1
The result
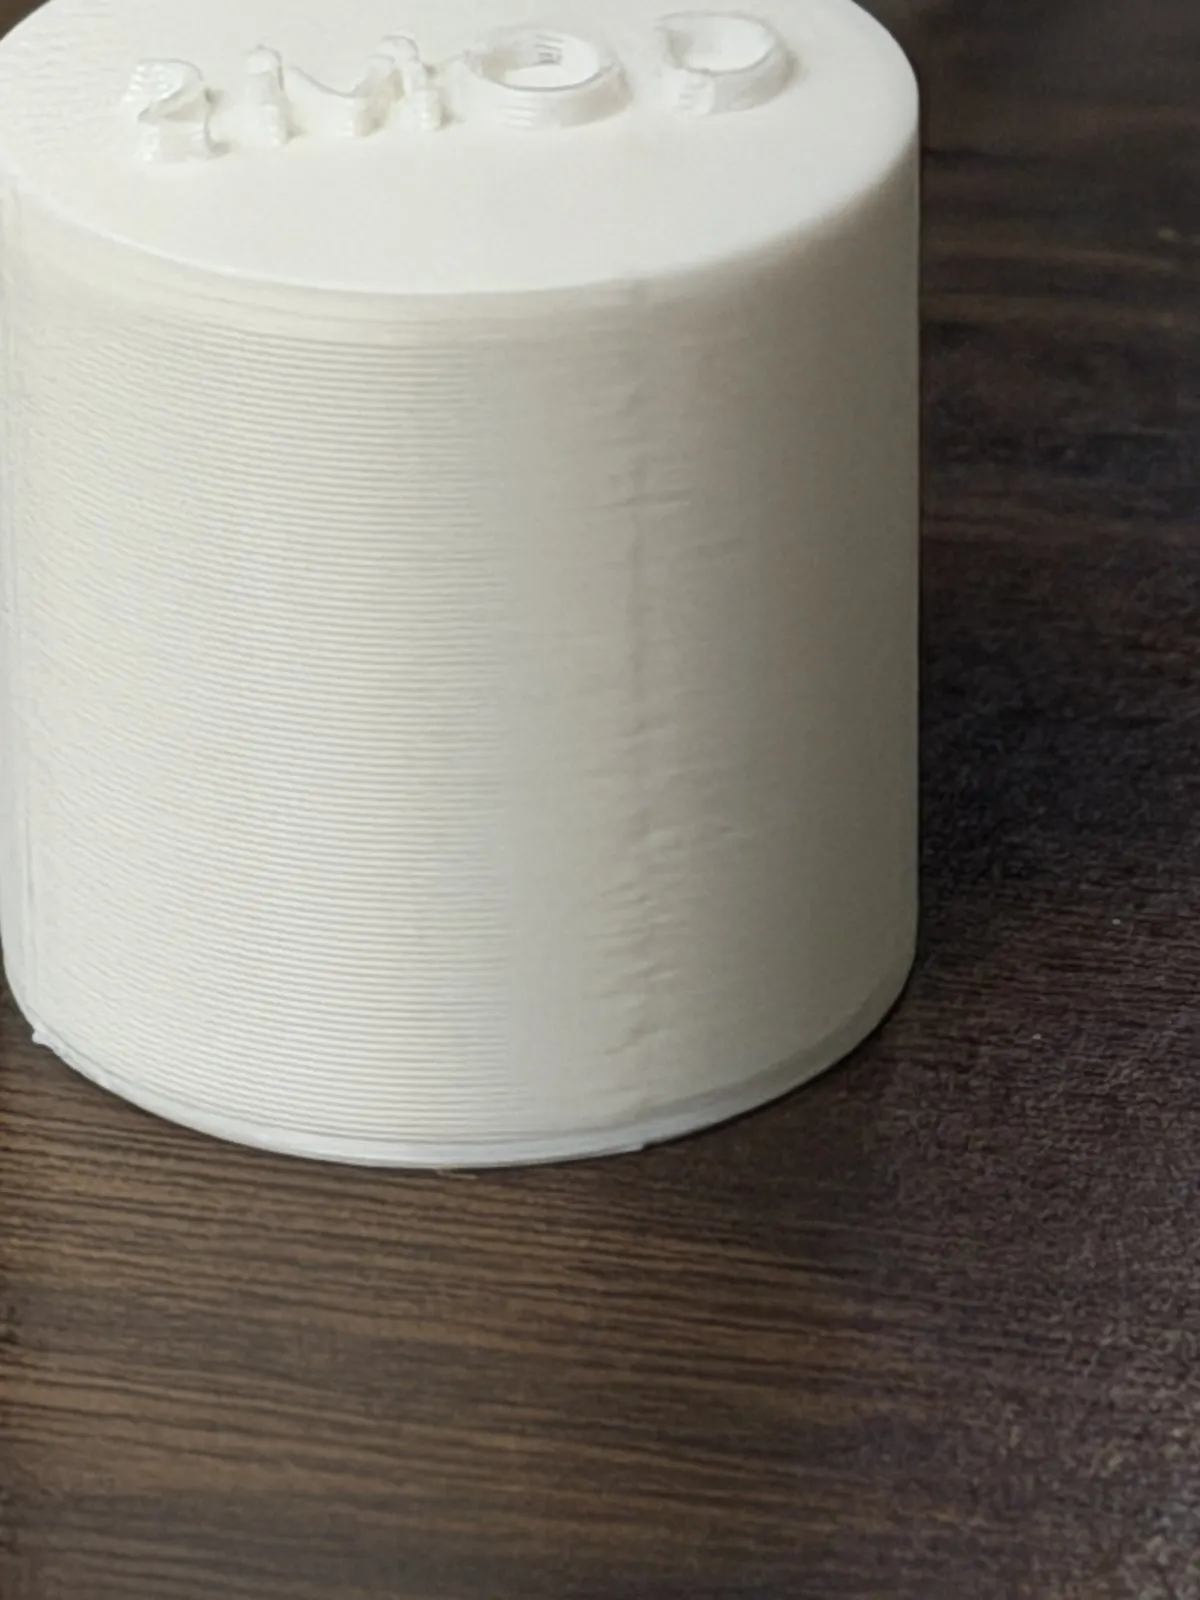
The ridge went from 0.007" to 0.001", about 7 times smaller. What used to be a raised seam line you could catch a fingernail on is now a faint band that's hard to find.