An Epoxy & Glue Bottle Holder for 1/4" Pegboard
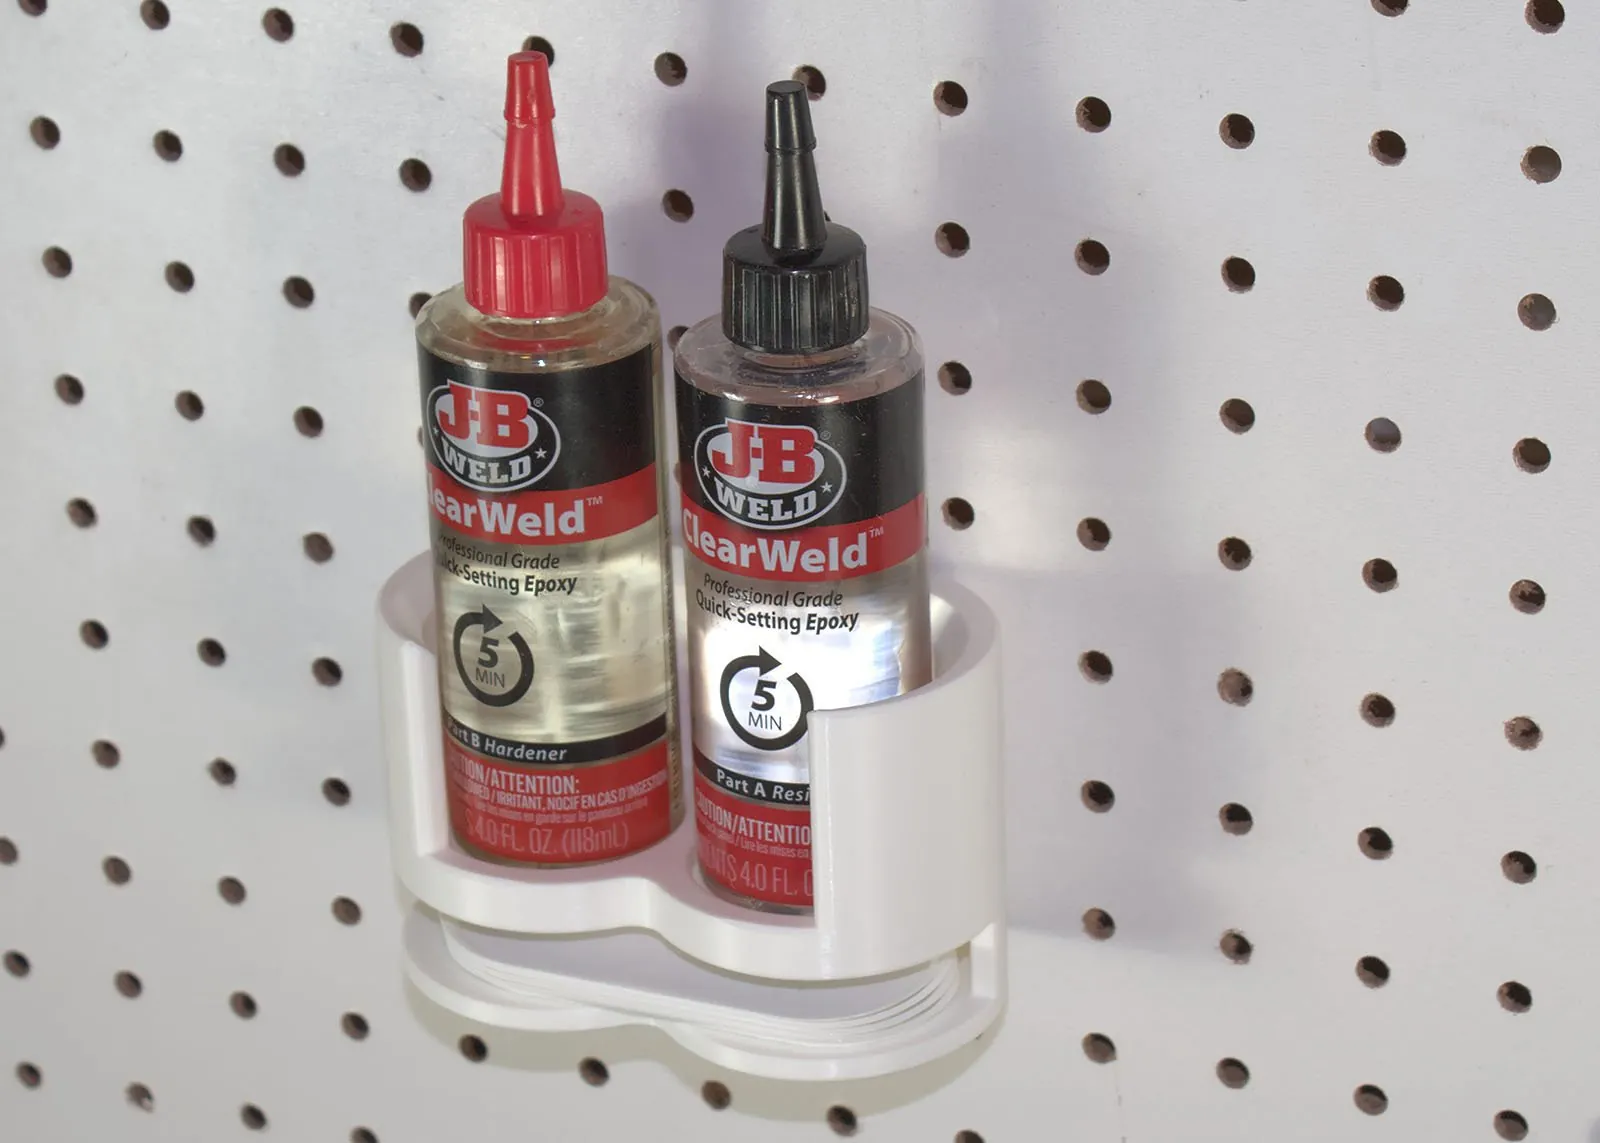
Two-part epoxy comes in two bottles, and every time you use it you also need something to mix it on. This rack keeps all of it in one spot on the pegboard. The resin and the hardener stand side by side, and a stack of four printed mixing trays slides into a slot underneath them.
Download the rack, trays and screws free on Printables
The files are on Printables: STEP files for the rack and the tray, the SolidWorks part file for the rack, and a 3MF with my print settings. I've also entered it in the Printables Designer Challenge: Pegboard Wall Organizers.
What it holds
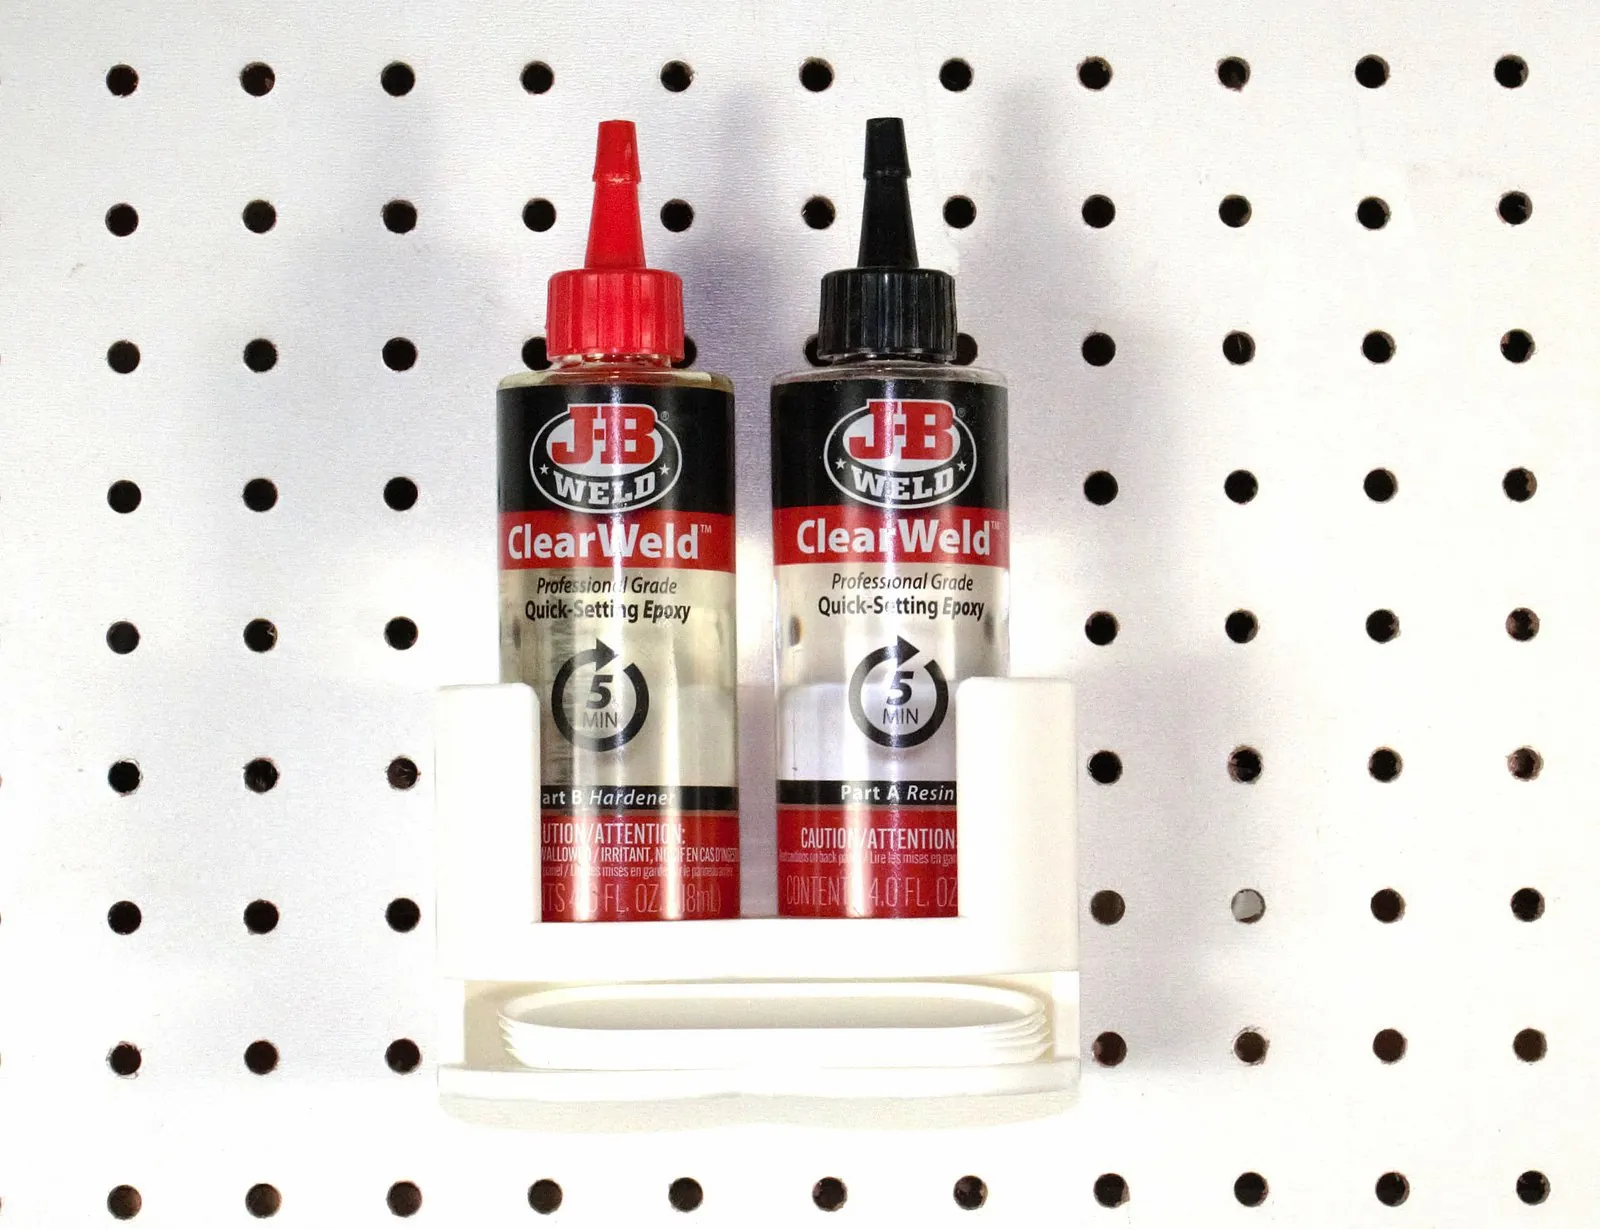
It takes two bottles up to 1.75" (44.5 mm) across. I've used it with:
- J-B Weld ClearWeld quick-setting epoxy, 4 fl oz (118 mL) bottles
- Devcon 2 Ton epoxy, 4.5 oz (128 g) bottles
Other glue bottles up to that size fit too.
The front is open, so you can read which bottle is Part A and which is Part B, and lift either one straight out. Each bottle sits in a 3/16" (5 mm) deep recess in the floor, so its base can't slide out the open front. The pockets are 1.8" (46 mm) deep.
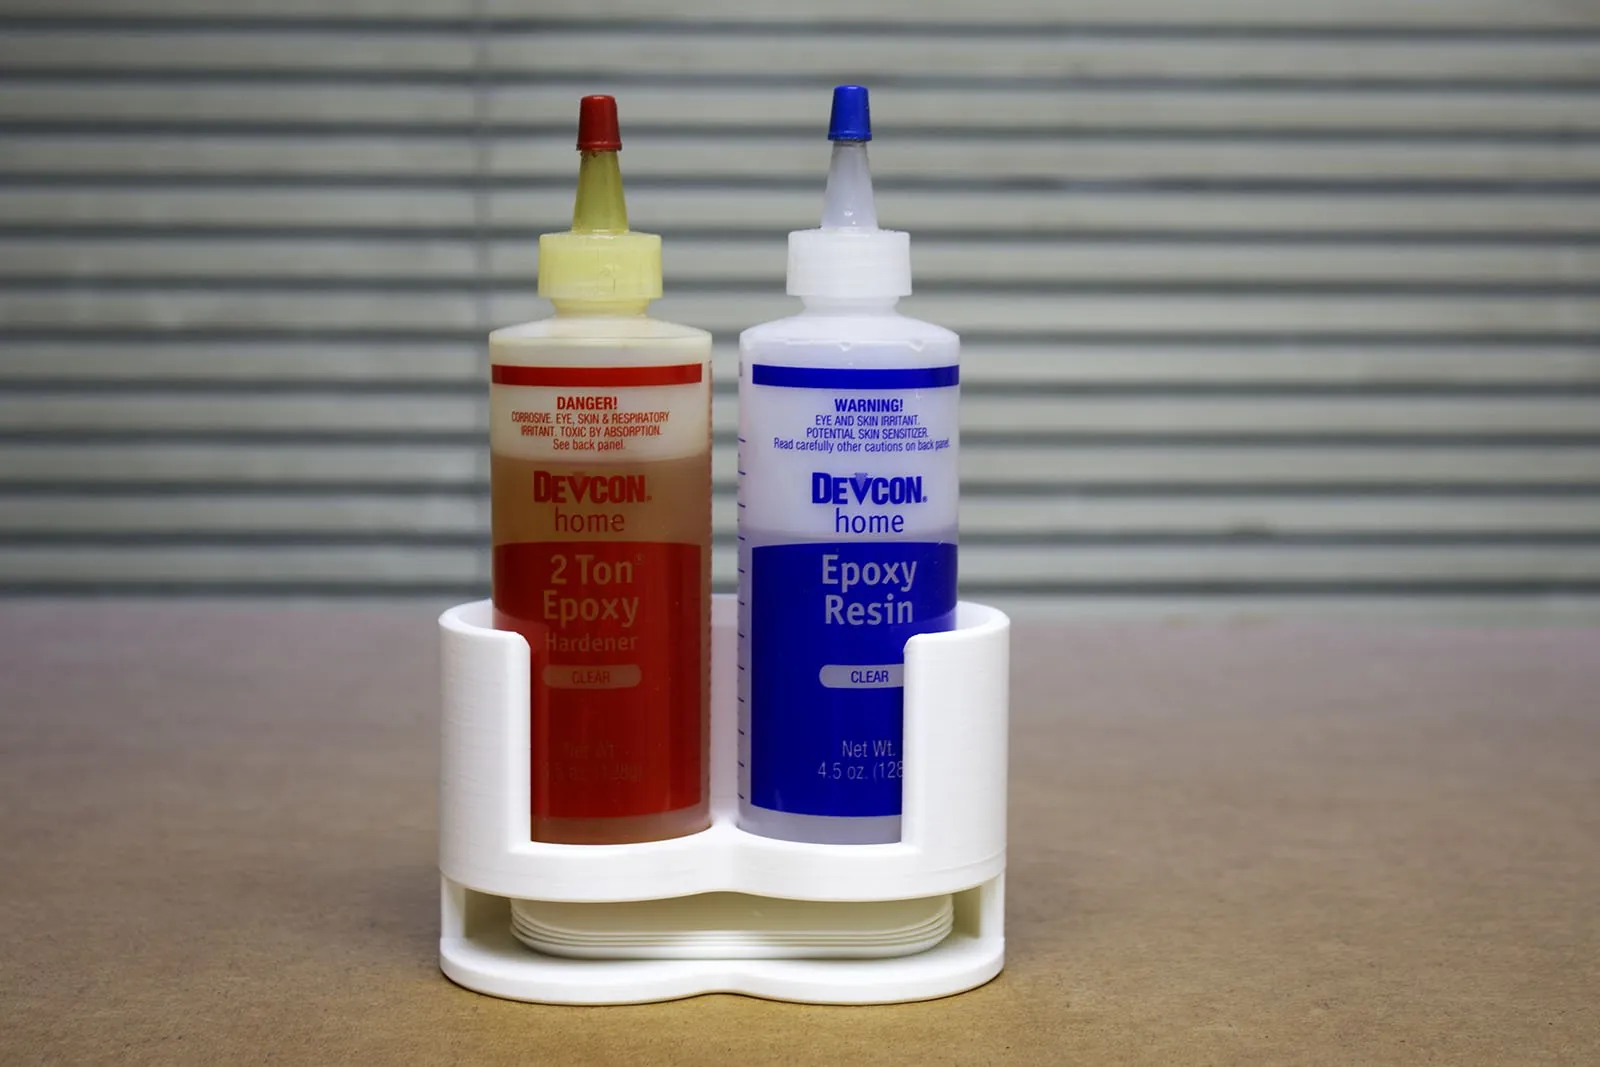
It also stands on its own on a workbench if you don't want it on the wall.
Four mixing trays underneath
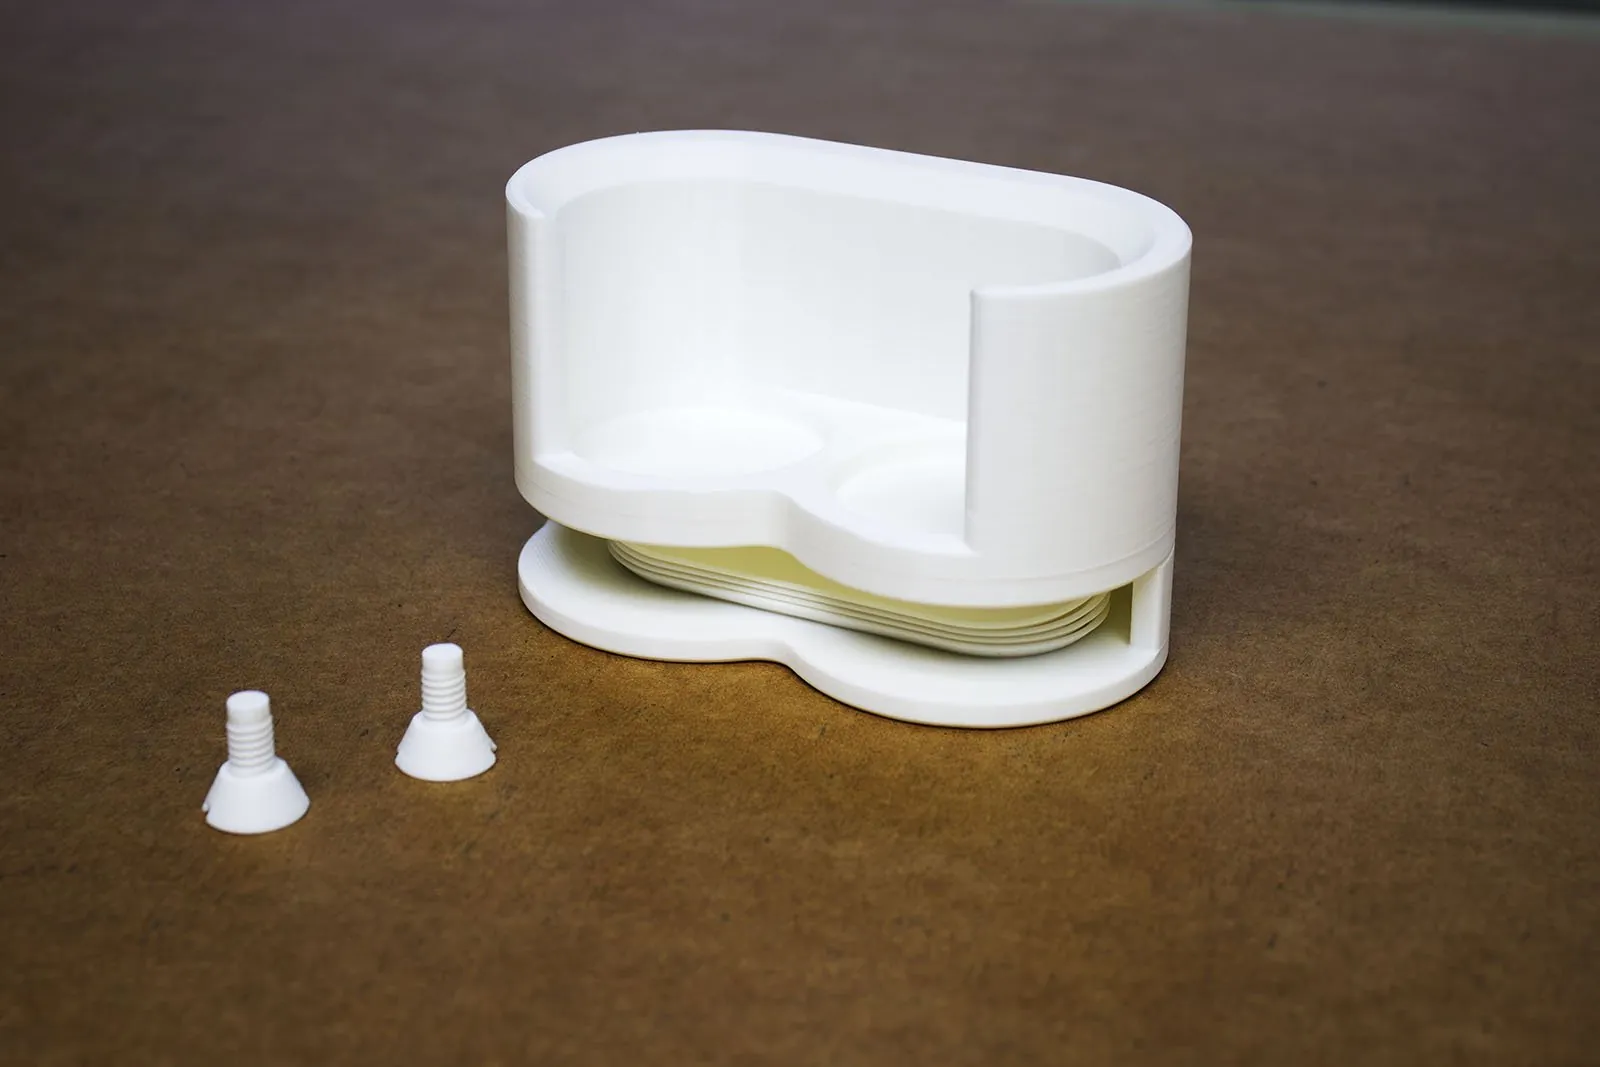
The trays are 3.75" x 1.75" (95 x 44.5 mm) ovals, 1/8" (3 mm) thick, and they stack in a slot 4.04" wide and 0.57" tall (102.7 x 14.5 mm) under the bottles. Each one has a thin tab on its front edge that sticks out at the front of the rack, so you can pull out one tray at a time.
Two pieces, snapped together
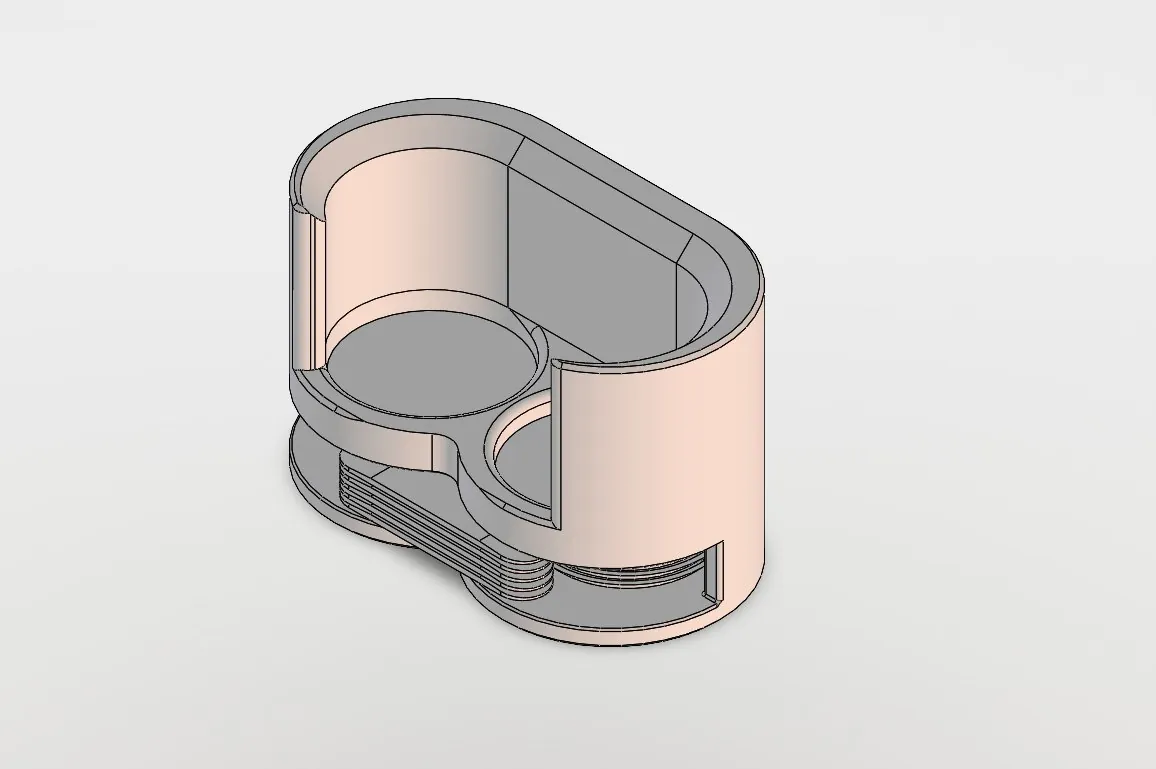
I modeled the rack in SolidWorks as a single part. Printed in one piece, the ceiling of the tray slot would be a 4" (103 mm) span that needs supports. So I cut it in PrusaSlicer right at that ceiling, using the Cut tool's Snap connectors. Now each half sits flat on the bed and neither one needs supports.
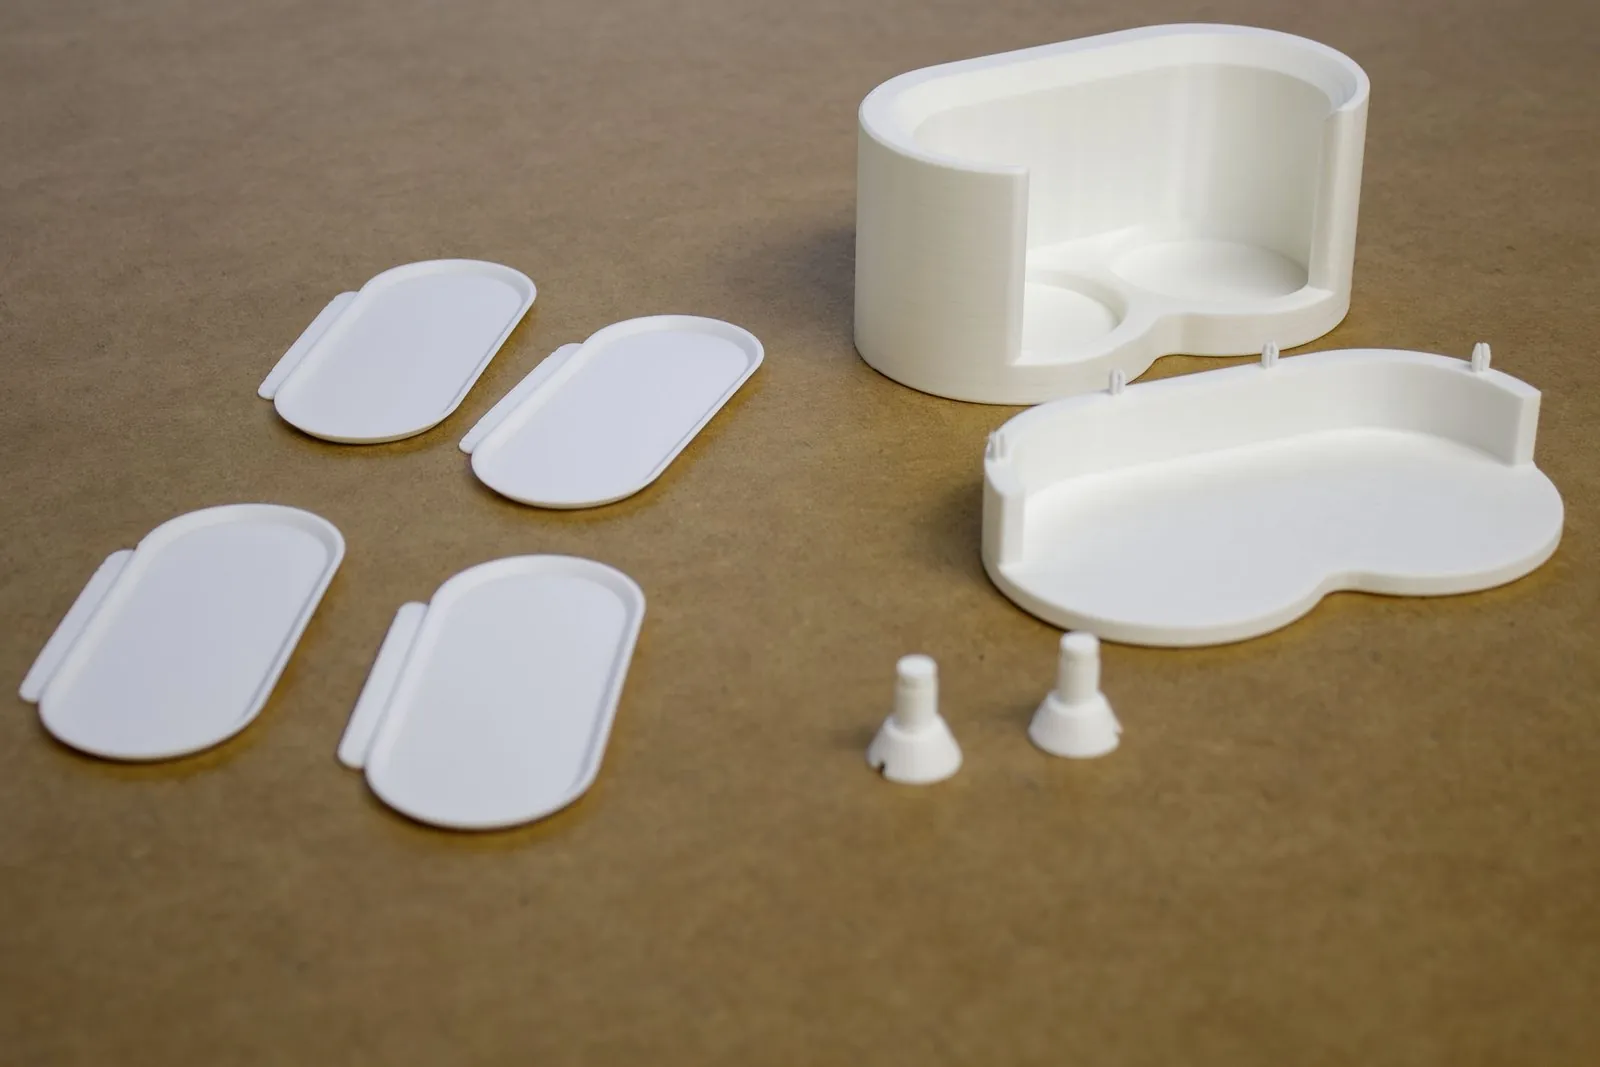
- Bottom piece. The floor and the walls of the tray slot. The four snap pins print standing up on top of the back wall.
- Top piece. The bottle holder. Its underside is the slot's ceiling and has the four holes the pins snap into.
- Connector settings. Snap type, 1/8" (3.175 mm) size, 1/4" (6.35 mm) depth, 0 radius tolerance and 0.1 mm depth tolerance.
The two halves snapped together on the first try.
How it hangs
It hangs on two 3D printed screws. They're the same screws I use on my magnetic tool holder bar: the screws go into the board first and the heads stay out. The rack hangs on them.
- They grip the hole. The 1/4-20 thread is slightly oversize, so it bites into the edge of the pegboard hole.
- They center themselves. A tapered tip drops into the hole and lines the screw up as you start it.
- They take a flat-head screwdriver. The head has a slot for an ordinary screwdriver.
- They lock the rack on. The underside of the head is a cone. Two keyhole slots on the back of the rack have tapered lips that fit that cone, so the rack can't pull away from the board when you grab a bottle.
The rack is 4.44" wide, 2.50" deep and 2.79" tall (112.7 x 63.5 x 70.8 mm), so it sticks out 2-1/2" from the board. The two screws go in neighboring holes in one row, 1" apart. It fits standard pegboard with 1/4" holes on 1" spacing, and I tested it on 3/16" thick board. It is not for IKEA Skådis or other slotted boards.
Printing it
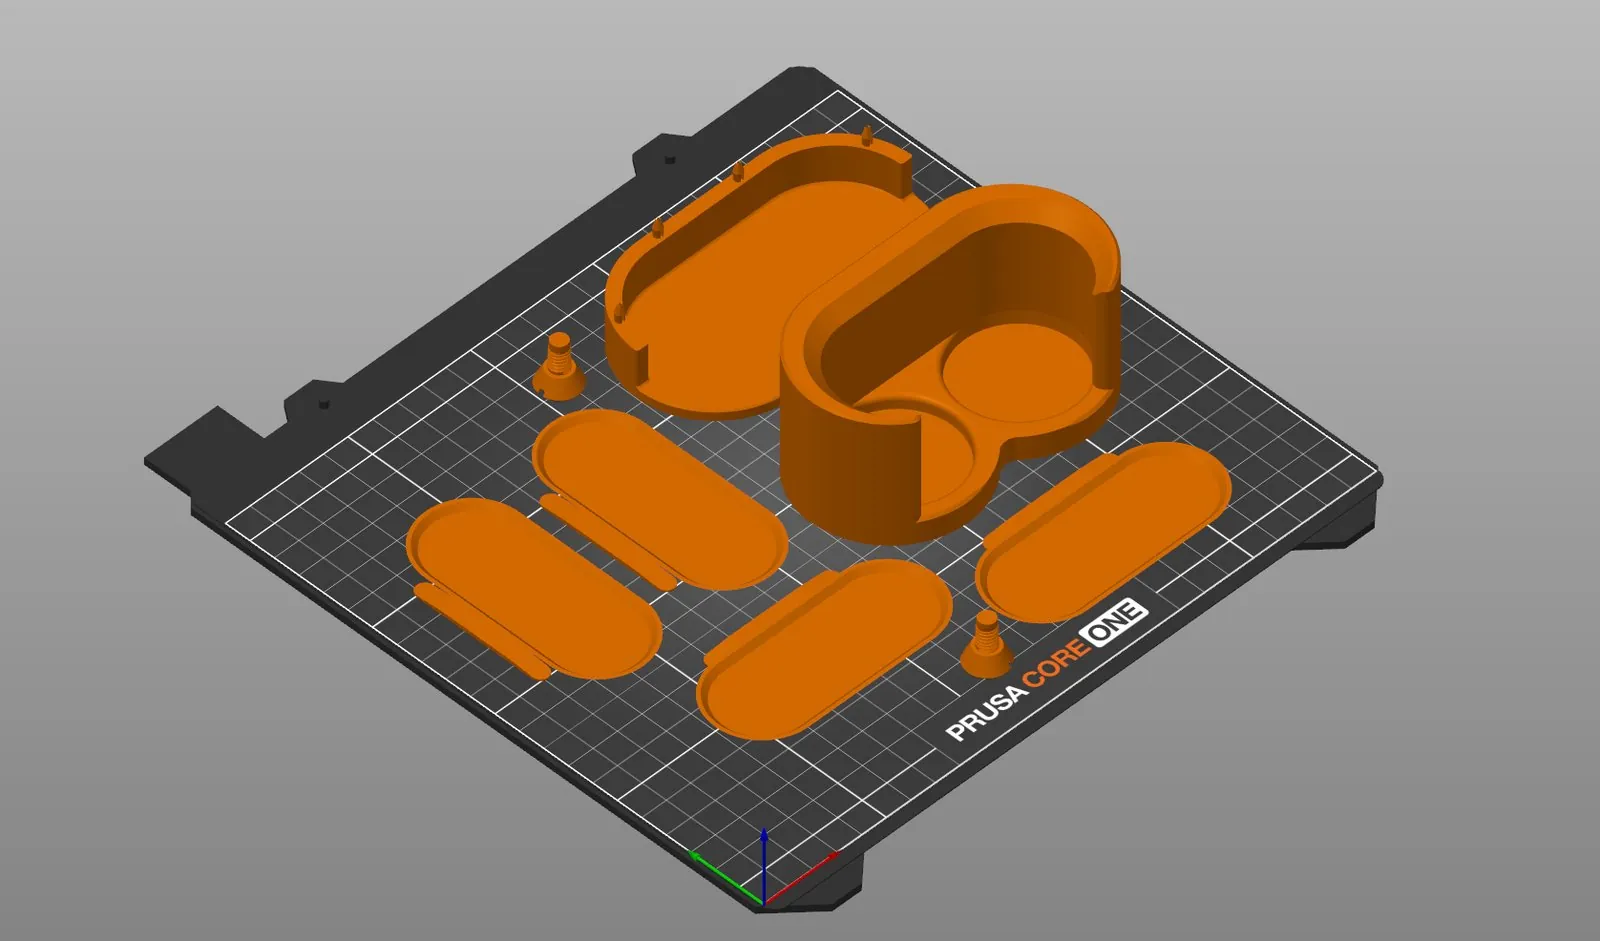
Everything prints together on one plate with no supports and no brim: the two halves, four trays and two screws. The top piece stands upright on its flat underside, the bottom piece lies on its floor with the snap pins pointing up, the trays lie flat, and the screws stand on their heads.
I printed mine in PLA on a Prusa CORE One with a 0.4 mm HF nozzle and the stock 0.25mm STRUCTURAL profile in PrusaSlicer 2.9.6. The plate takes about 100 g of filament and 3 hours 6 minutes. The Printables page has the full settings.
What else you'll need
A flat-head screwdriver to drive the printed screws. That's it. There's no glue, no magnets and no store-bought hardware.
Putting it up
- Set the top piece on the bottom piece, lined up with the four snap pins, and press down until they snap in.
- Pick two neighboring pegboard holes in one row.
- Start a printed screw in each hole. The tapered tip centers it.
- Turn each screw in with a flat-head screwdriver until the underside of the head touches the board. Stop there, because plastic threads strip if you overtighten them.
- Line up the round middles of the two keyholes on the back of the rack with the screw heads. Push the rack flat against the board, then slide it down until it stops.
- Slide the trays into the slot with their tabs at the front, and stand your bottles in the pockets.
To take the rack down, lift it up and pull it off the screws.
If your bottles are a different size, the STEP files of the uncut rack and the tray are on Printables, along with the SolidWorks part.
More pegboard holders
These use the same or similar printed screws:
- A magnetic tool holder bar for 1/4" pegboard
- A swing-out screwdriver arm for 1/4" pegboard
- A screw-in pegboard holder for a driver set
Get the files
Epoxy & Glue Bottle Holder for 1/4" Pegboard on Printables. It is free under a Creative Commons Attribution-NonCommercial license. If you print one, please post a Make there and show which epoxy you keep in it.