Blender Quick Tip: Set Up Units for 3D Printing
Set Blender's unit scale to 0.001 so one unit is one millimeter, export STLs at scale 1.000, and stop parts arriving in the slicer a thousand times too small.
Slicers read STL files in millimeters. Blender's native unit is the meter. Switching the display to millimeters does not change that, so a 40 mm bracket exports as 0.04 units and lands in the slicer a thousand times too small.
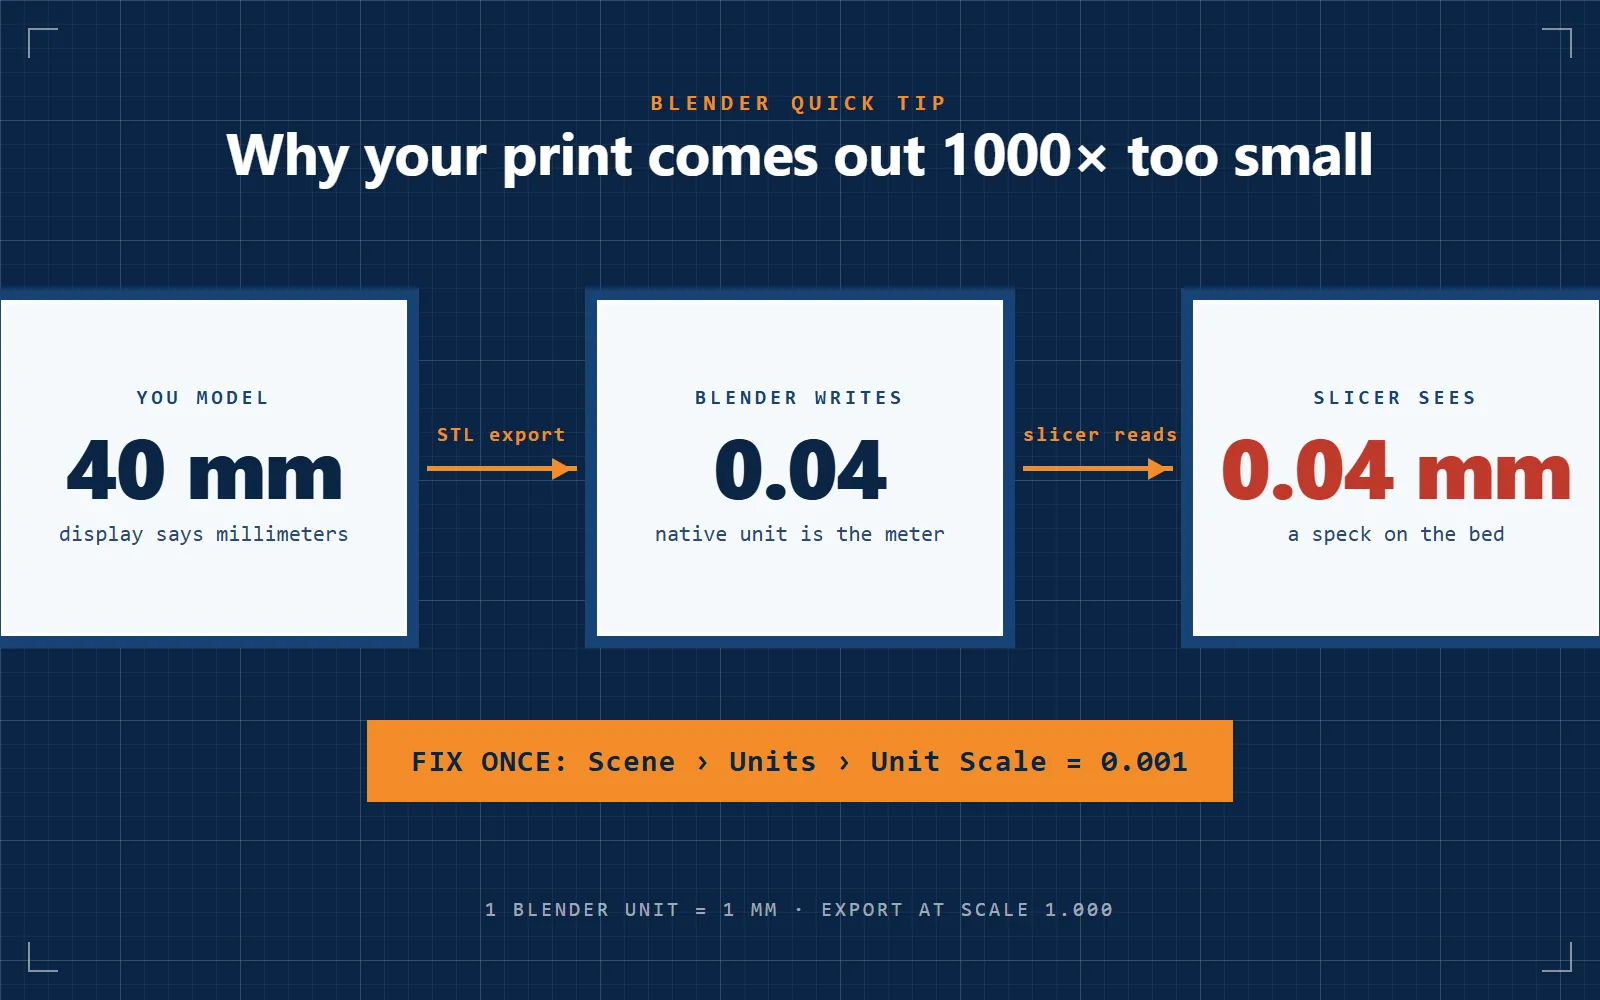
The fix is to make Blender's native unit the millimeter. Do this once, in the Scene tab of the Properties panel, under Units:
- Unit System: Metric
- Length: Millimeters
- Unit Scale: 0.001
Now one Blender unit is one millimeter. Type 40 and you get 40 mm. Export the STL with Scale at 1.000 and leave Scene Unit unchecked. The slicer reads it at the right size with no scaling on either end.
Import works the same way. An STL made for printing comes in at Scale 1.000 and is the right size immediately.
Save this as your startup file (File, Defaults, Save Startup File) so every new project starts in millimeters.
Two things change when you do this. The default cube is now 2 mm across, so scale it up or delete it. And the viewport clip end is 1000 mm, so raise it under the View tab of the sidebar if a large part disappears when you zoom out.
Don't bother rotating the part in Blender. Every slicer has a "place on face" tool that drops a flat surface onto the bed in one click.
If you would rather leave Blender in meters, the old workaround still works: export at Scale 1000 and import at 0.001. But every export and import is a chance to forget, and setting the unit scale once removes the step entirely.