Import STEP Files into Blender with the STEP Importer Extension
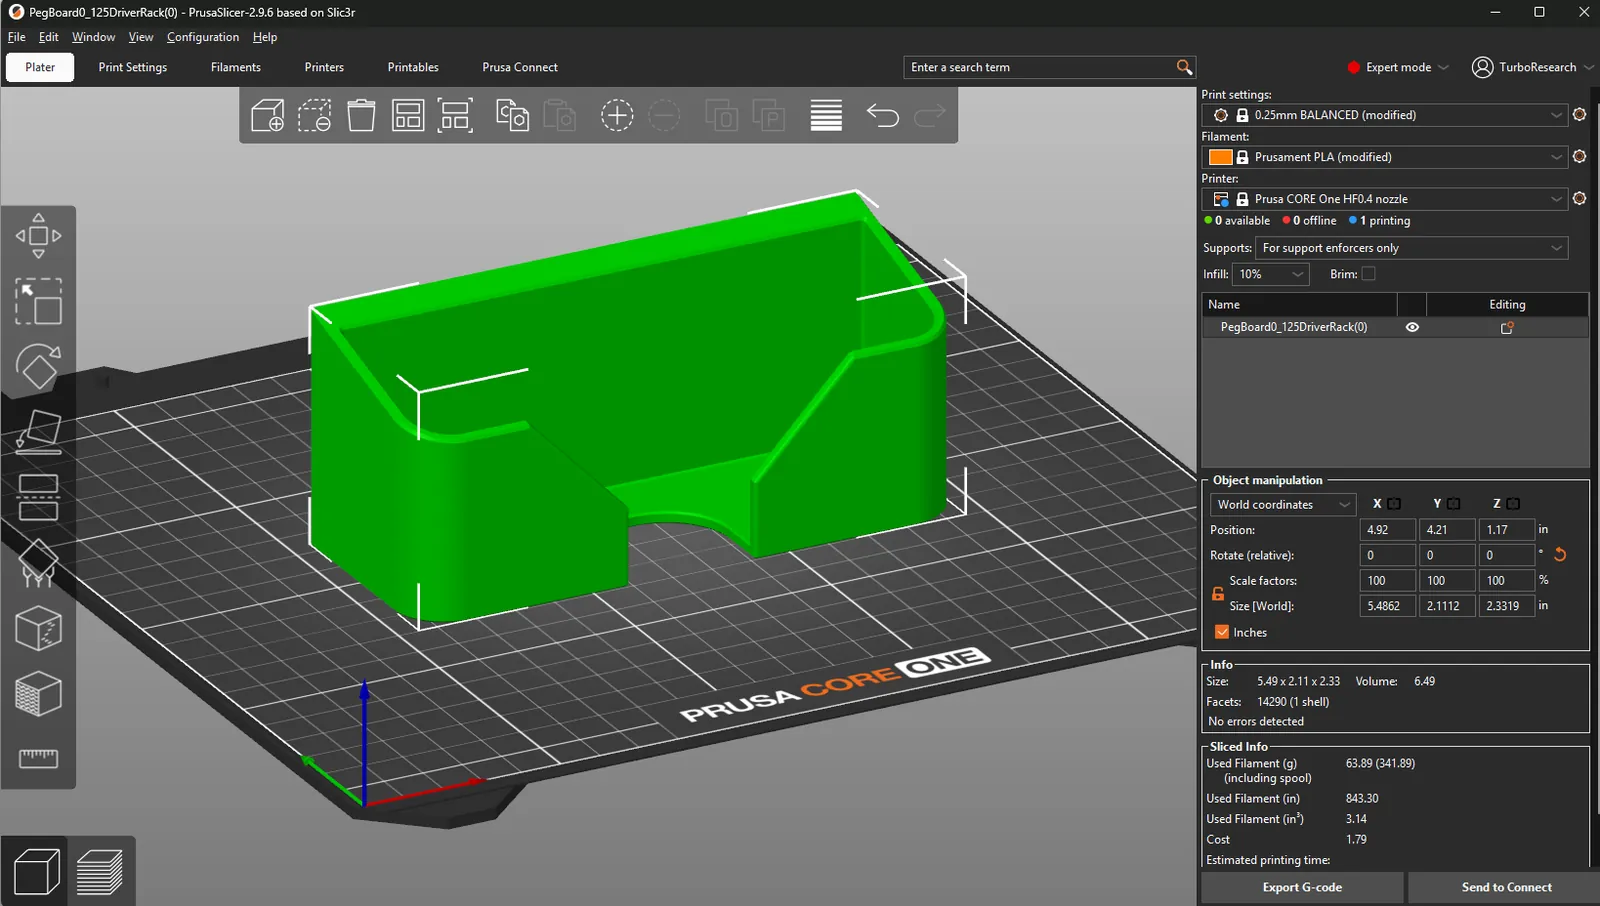
Most of what I print starts in SolidWorks, and for years the trip from there to Blender and on to the slicer went through STL. STL has no units, so SolidWorks asks for one in the options when you save it. I pick millimeters when the STL is going to the slicer and meters when it is going into Blender. If the part goes through Blender on the way to the slicer, I export the STL from Blender at a Scale of 1000. If I load a millimeter STL into Blender, I set the import Scale to 0.001. Once you have figured it out, it isn't difficult, and every one of these programs lets you fix the scale later if you get it wrong.
A better way
A STEP file says what unit it is in. SolidWorks, Fusion, Onshape and FreeCAD all write it, PrusaSlicer opens it directly, and since Blender 5.1 there is a free extension that imports it. The same .step file now opens at the right size in both programs, whatever Blender's units are set to, with no scale factor on either end.
Why STEP doesn't need converting
Open a STEP file in Notepad and search for LENGTH_UNIT. Here is the line from a vendor model saved out of SolidWorks 2026:
#1406 =( LENGTH_UNIT ( ) NAMED_UNIT ( * ) SI_UNIT ( .MILLI., .METRE. ) );and here is one from a bearing pad I drew in inches:
#332 =( CONVERSION_BASED_UNIT ( 'INCH', #5061 ) LENGTH_UNIT ( ) NAMED_UNIT ( #8428 ) );The reader sees that line and converts. SolidWorks writes the STEP in whatever units the part document uses, and it doesn't matter which, because the file carries the answer with it. An STL has nothing like that line.
Install the STEP Importer
You need Blender 5.1 or newer. Older versions won't list it.
- Edit, Preferences, Get Extensions.
- If Blender asks about internet access, click Allow Online Access.
- Type STEP in the search box. Find STEP Importer by Clonephaze and click Install.
That's all. It is free, GPL licensed, and it brings its own copy of the OpenCASCADE geometry kernel, so there is nothing else to install. I am on version 1.2.1.
If the computer is offline, download the zip for your system from the STEP Importer page on extensions.blender.org, then drag the zip into Blender or use Install from Disk in the drop-down arrow at the top right of Get Extensions.
Import a part
File, Import, STEP/IGES (.step/.stp/.igs), or drag the .step file straight into the 3D viewport. It reads IGES files too. Four settings in the import dialog are worth knowing.
Source Up Axis. SolidWorks is Y-up. Blender is Z-up. With the default setting of Y, the importer keeps the coordinates exactly as they are in the file, so a SolidWorks part comes in lying on its back. Set it to Z and the part stands up. Yes, that reads backwards. I tested both on a part with a known top, and Z is the one that works for SolidWorks. Parts from FreeCAD, which is Z-up, come in correctly at the default. Set your usual choice once under Edit, Preferences, Add-ons, STEP Importer, Default Transforms, so you don't have to change it on every import.
Scale. Leave it at 1.0. It is there for files with the wrong unit label, which I come back to below.
Origin Offset. Bottom Center centers the part on X and Y and sets it on the floor. Keep leaves it where it sat in the CAD file.
Quality Preset. A STEP file holds exact curved surfaces, and Blender needs triangles, so the importer has to cut the curves into facets. Balanced, the default, is good for most parts. Use Fine for close-up renders. If the part is going to end up on the printer, use Ultra Fine, unless it is all flat faces and straight edges, where the preset makes no difference. If a part comes in too coarse, you don't need to import it again. Select it, open the STEP tab in the sidebar (N), choose a better preset and click Regenerate Part. It goes back to the original file and re-cuts the part in place.
For renders, clean up the topology first. Tick Clean Up Topology in the Cleanup section of the import dialog, or select the part afterwards and click Clean Up Topology in the STEP tab. Then go into Edit Mode, select everything (A) and press Alt+J to turn the triangles into quads.
For assemblies, Assembly Collections builds Blender collections that match the assembly tree, and Merge Bodies joins everything into one object.
What I measured
To make sure this wasn't just theory, I ran the same three files through Blender 5.2 and PrusaSlicer 2.9.6: a 40 x 20 x 10 mm test block saved as STEP in millimeters, the same block as an STL, and a bearing tilt pad saved from SolidWorks in inches.
| File | Blender, default meters | Blender, Unit Scale 0.001 | PrusaSlicer |
|---|---|---|---|
| Test block, STEP in mm | 40 x 20 x 10 mm | 40 x 20 x 10 mm | 40 x 20 x 10 mm |
| Tilt pad, STEP in inches | 342.9 x 652.8 x 633.7 mm | 342.9 x 652.8 x 633.7 mm | 342.9 x 652.8 x 633.7 mm |
| Test block, STL | 40 x 20 x 10 m | 40 x 20 x 10 mm | 40 x 20 x 10 mm |
The STEP files land at their true size everywhere, including the inch part. The STL is only right in Blender when Blender has been set up for millimeters. The importer goes with whatever Blender is set to. In a meters scene the 40 mm block is 0.04 units across and reads 40 mm. With Unit Scale at 0.001 it is 40 units across and still reads 40 mm. If you set Blender up for millimeters as in the units post, there is no need to undo it.
Open the same file in PrusaSlicer
PrusaSlicer has opened STEP files since version 2.6. Use File, Import, Import STL/3MF/STEP/OBJ/AMF (Ctrl+I), or drag the file onto the plate. It reads the unit line the same way Blender does. PrusaSlicer also turns the curves into triangles on import, and there is a setting in Preferences, Show STEP file import parameters, that asks for Linear precision and Angle precision each time you open one. Leave it off unless you see flat spots on round features.
A SolidWorks part will lie on its back on the plate too, for the same Y-up reason. Click Place on Face (F) and click the face that goes down.
The one thing STEP doesn't fix
The STEP Importer only goes one way. Blender can't write STEP files, and once the part is in Blender it is an ordinary mesh with no link back to the CAD model. If you change it in Blender and want to print the result, you are back to exporting STL or 3MF, and the units post still applies.
Where STEP pays off is a part designed in CAD. Save one STEP file from SolidWorks with File, Save As, STEP AP214. Open it in PrusaSlicer to print and in Blender to render. Neither one needs a scale factor, and there is no STL in between to guess the units.
When a STEP comes in 1000 times too big
The unit line is only as good as the program that wrote it. While making the test block I exported it from a FreeCAD script, and the file came out with the coordinates in millimeters but the unit line saying meters. Blender and PrusaSlicer both believed the label and opened a block 40 meters long. If a STEP part arrives a thousand times too big or too small, open the file in Notepad, check the LENGTH_UNIT line, and export it again with the right units. In Blender, the Scale setting on the import dialog (1000 or 0.001) will fix it in the meantime.