Fix 3D Models in PrusaSlicer, Not Blender
Skip Blender's 3D-Print Toolbox. Export the STL, let PrusaSlicer repair non-manifold edges and flipped normals, and know when to fix it in Blender instead.
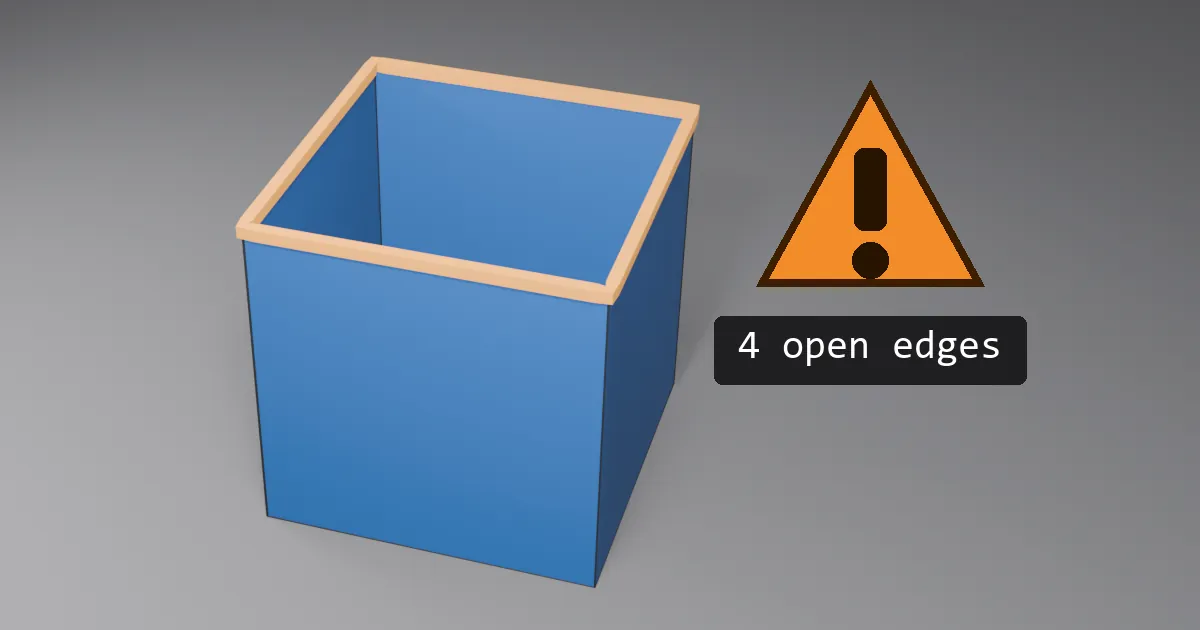
A model that prints has to be a closed, manifold solid: every edge shared by exactly two faces, every face pointing outward, no faces crossing each other. Blender does not care about any of this. It will happily let you leave a hole in a mesh, or a flipped normal, or two overlapping shells, and the viewport will look fine.
The usual advice is to run the 3D-Print Toolbox add-on before exporting. Enable it under Edit, Preferences, Add-ons (in Blender 4.2 and later it is an extension you install from the Extensions tab), and a 3D Print tab appears in the sidebar. Check All reports non-manifold edges, bad contiguous edges, intersecting faces, zero-area faces and overhangs, and selects the offending geometry so you can go find it. There is also a Make Manifold button under Clean Up.
It works, but it makes you do the work. You select the problem, figure out what it is, fix it by hand, run the check again, and repeat until the report is clean. For a hobby part that is ten minutes of poking at vertices you will never see in the print.
The shortcut
Export the STL and drop it into PrusaSlicer. It checks the same things on import and repairs most of them automatically: flipped normals, holes, degenerate facets, edges that do not quite meet. You will see a warning triangle next to the object in the list on the right.
Select the object and look at the Info box below the object list. It tells you what it found and what it did about it.
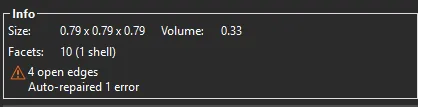
This test cube had its top face deleted and one bottom triangle flipped. PrusaSlicer flipped the triangle back on its own. The four open edges around the missing top are still reported, but the slicer closes open loops when it slices, so the cube prints as a solid cube. Hover over the triangle in the object list and the tooltip breaks the errors down the same way.
To fix it, left-click the triangle in the object list, or right-click the object and pick Fix by Microsoft algorithm. On Windows this hands the mesh to the built-in 3D model repair service and gives back a closed solid. The warning goes away and you can slice with no doubts about what the printer will do.
The repaired mesh does not have to stay in the slicer. Right-click the object, export it as an STL, and import that file back into Blender. Now the clean, closed version is the one you keep working on, and the hole is gone from the source model too.
When to go back to Blender
Automatic repair guesses. It fills a hole with the flattest patch it can and joins overlapping shells however they happen to intersect. For a missing face on a box that guess is right. For a hole in a curved surface, or two parts that were meant to be a single body, the guess can be wrong in ways that are hard to see in the slicer preview. Check the sliced layers at the spot where the repair happened. If they look wrong, that is the time to open the 3D-Print Toolbox and fix the mesh properly.
For everything else, let the slicer do it. It is the last program to touch the model before it prints, it already checks every file you give it, and it has been repairing meshes for longer than most of us have been exporting them.