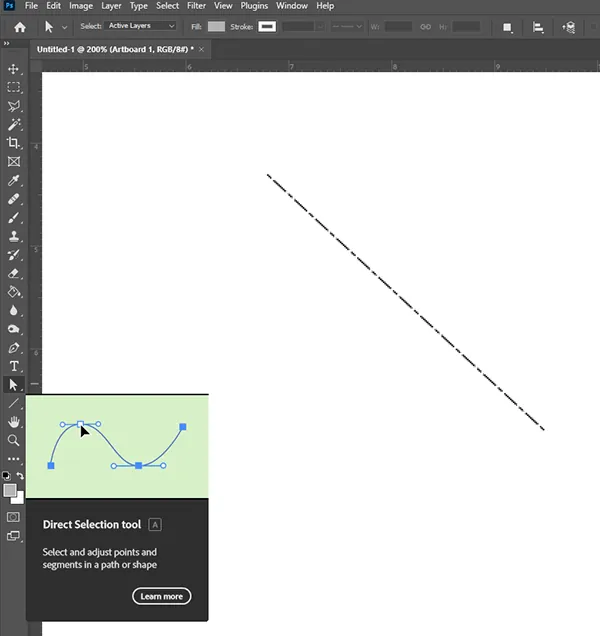
How to Draw a Centerline in Photoshop
Draw a proper dash-dot centerline in Photoshop with the Pen tool: set the stroke, define a 4-2-12-2 dash pattern, save it as a preset and edit it later.
As an engineer that works with rotating turbomachinery, nearly all my drawings require centerlines. To add a centerline to a CAD drawing is a piece of cake. For some reason, Photoshop doesn’t make it so easy.
Here is a quick and easy way to draw centerlines in Photoshop.
Select the Pen Tool from the tool palette
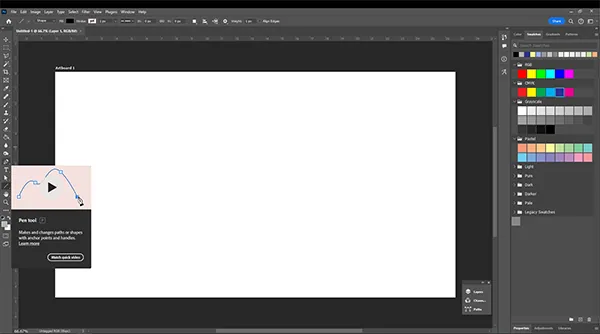
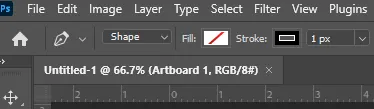
Change the fill to “none”, change the stroke color and define the width of the centerline
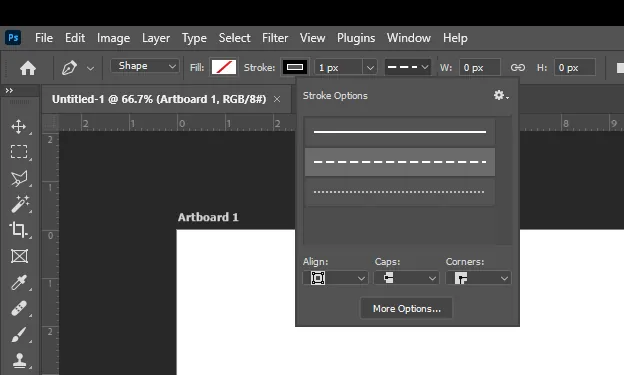
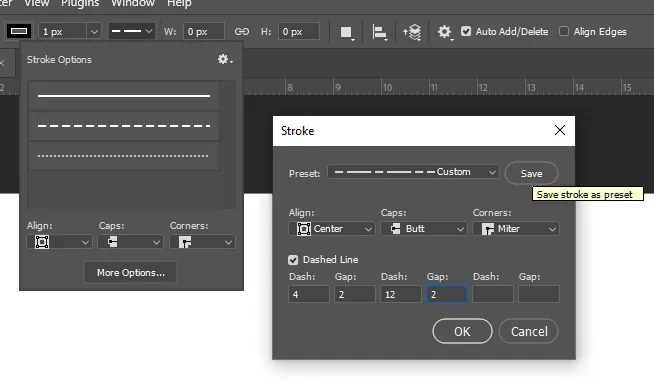
Next to the stroke width box is the line type drop down selection. Click on the arrow to show the pre-defined lines. There is a solid line, a dashed line and a dotted line. Click on the dashed line and then click “more options”.
Define the centerline which is a short dash – long dash repeating pattern. If you selected the dashed line before hitting “more options”, you should already have a 4 in the first “Dash” box and a 2 in the first “Gap” box. Add a 12 to the second “Dash” box and a “2” to the 2nd “Gap Box” and then click “Save” so you can speed up the process in the future. Then click OK.
Now with the pen tool still selected, Left click (do not drag) for the start of the centerline. Then move the mouse to the end of the centerline and left click again. Hit “Enter” to finish the line.
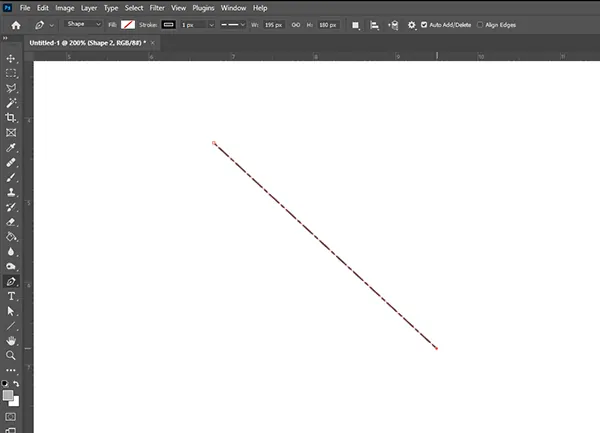
If you want to edit the line at a later time, use the “Direct Selection Tool”, then click on the line. You can change the color, width or line style. You can also click on an end point and move the end point.