A Screw-In Pegboard Holder for a 1/4" Driver Set Case
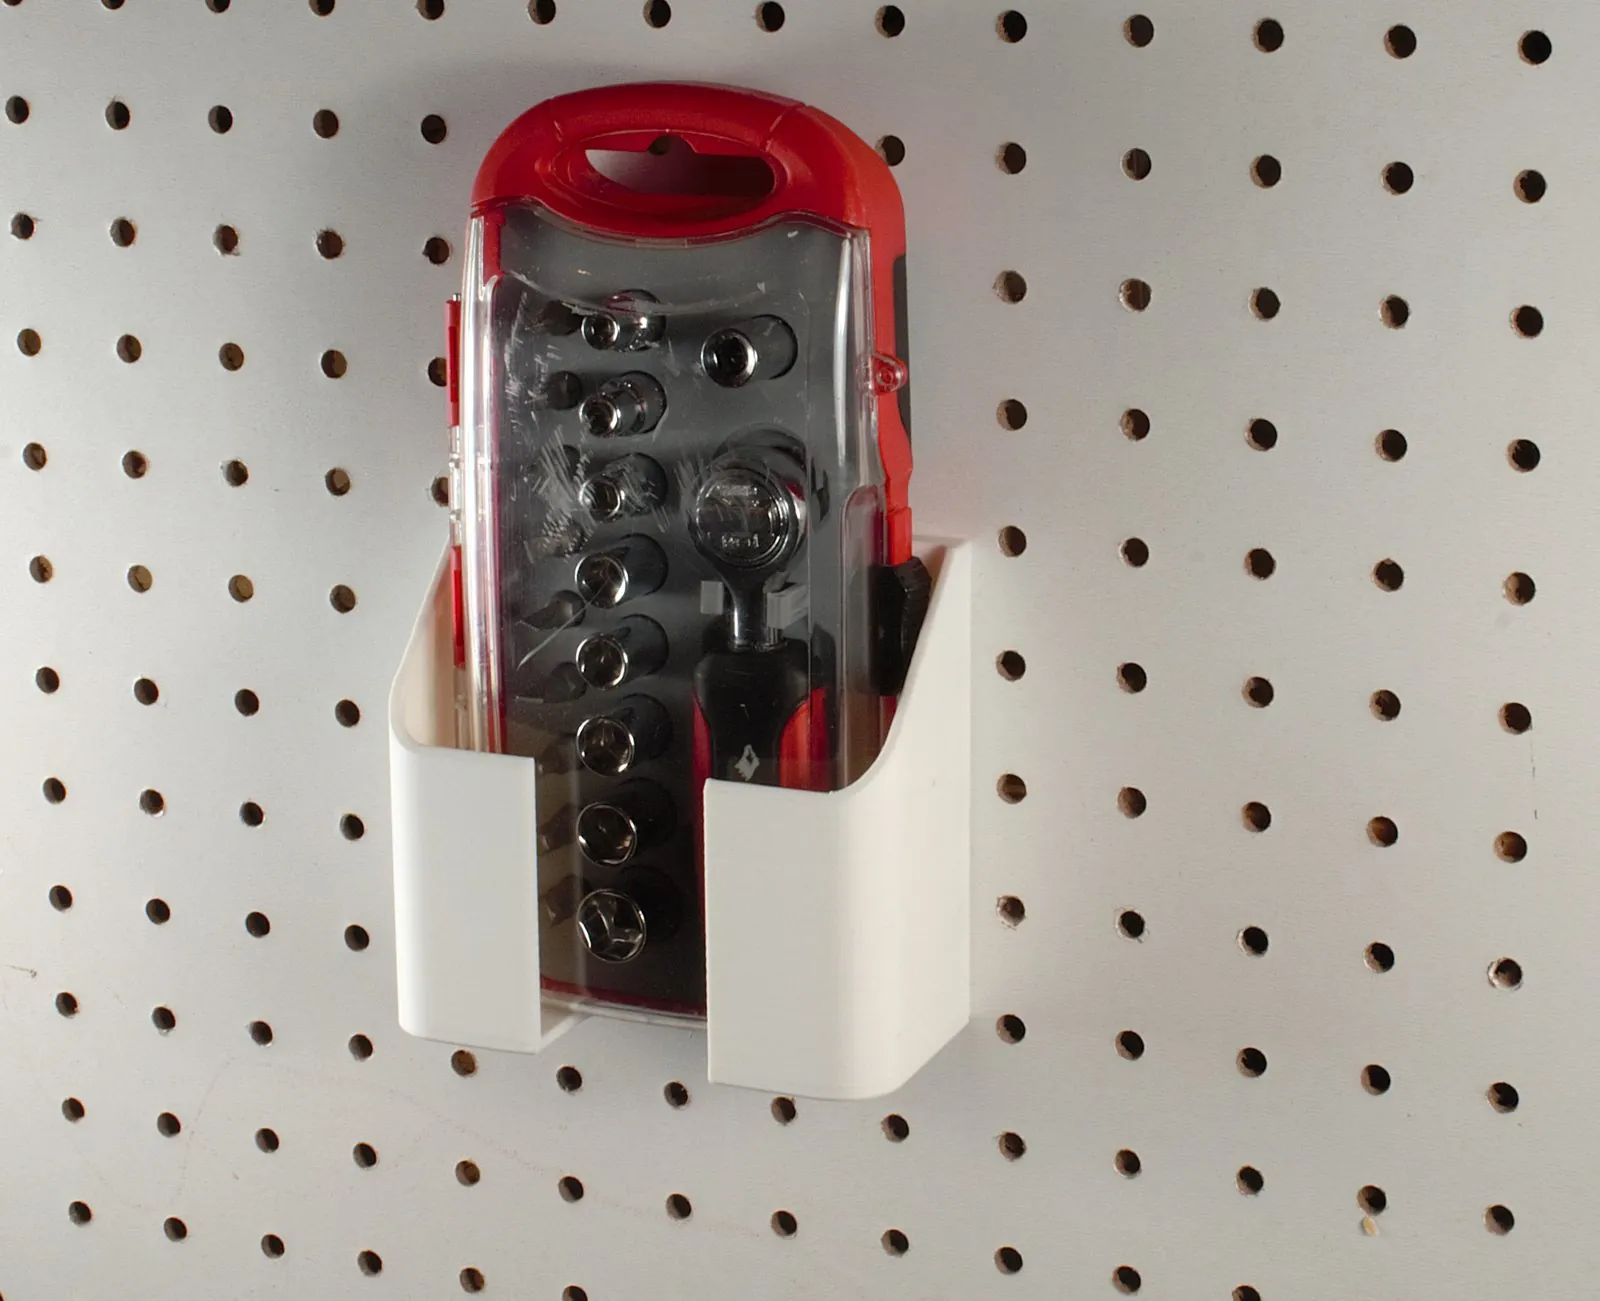
I've never found a good way to hang things on pegboard. Most holders hang on hooks, and when you grab the tool the holder lifts off with it or ends up on the floor. So for this one I designed a screw. Two 3D printed 1/4-20 screws go through the holder into the pegboard holes and pull it tight against the board. The case slides in and out, and the holder stays where you put it.
Download the holder and screws free on Printables
The files are on Printables: STEP files for the holder and the screw, and a 3MF with the holder and both screws on one plate, ready to slice. I've also entered it in the Printables Designer Challenge: Pegboard Wall Organizers.
What it holds
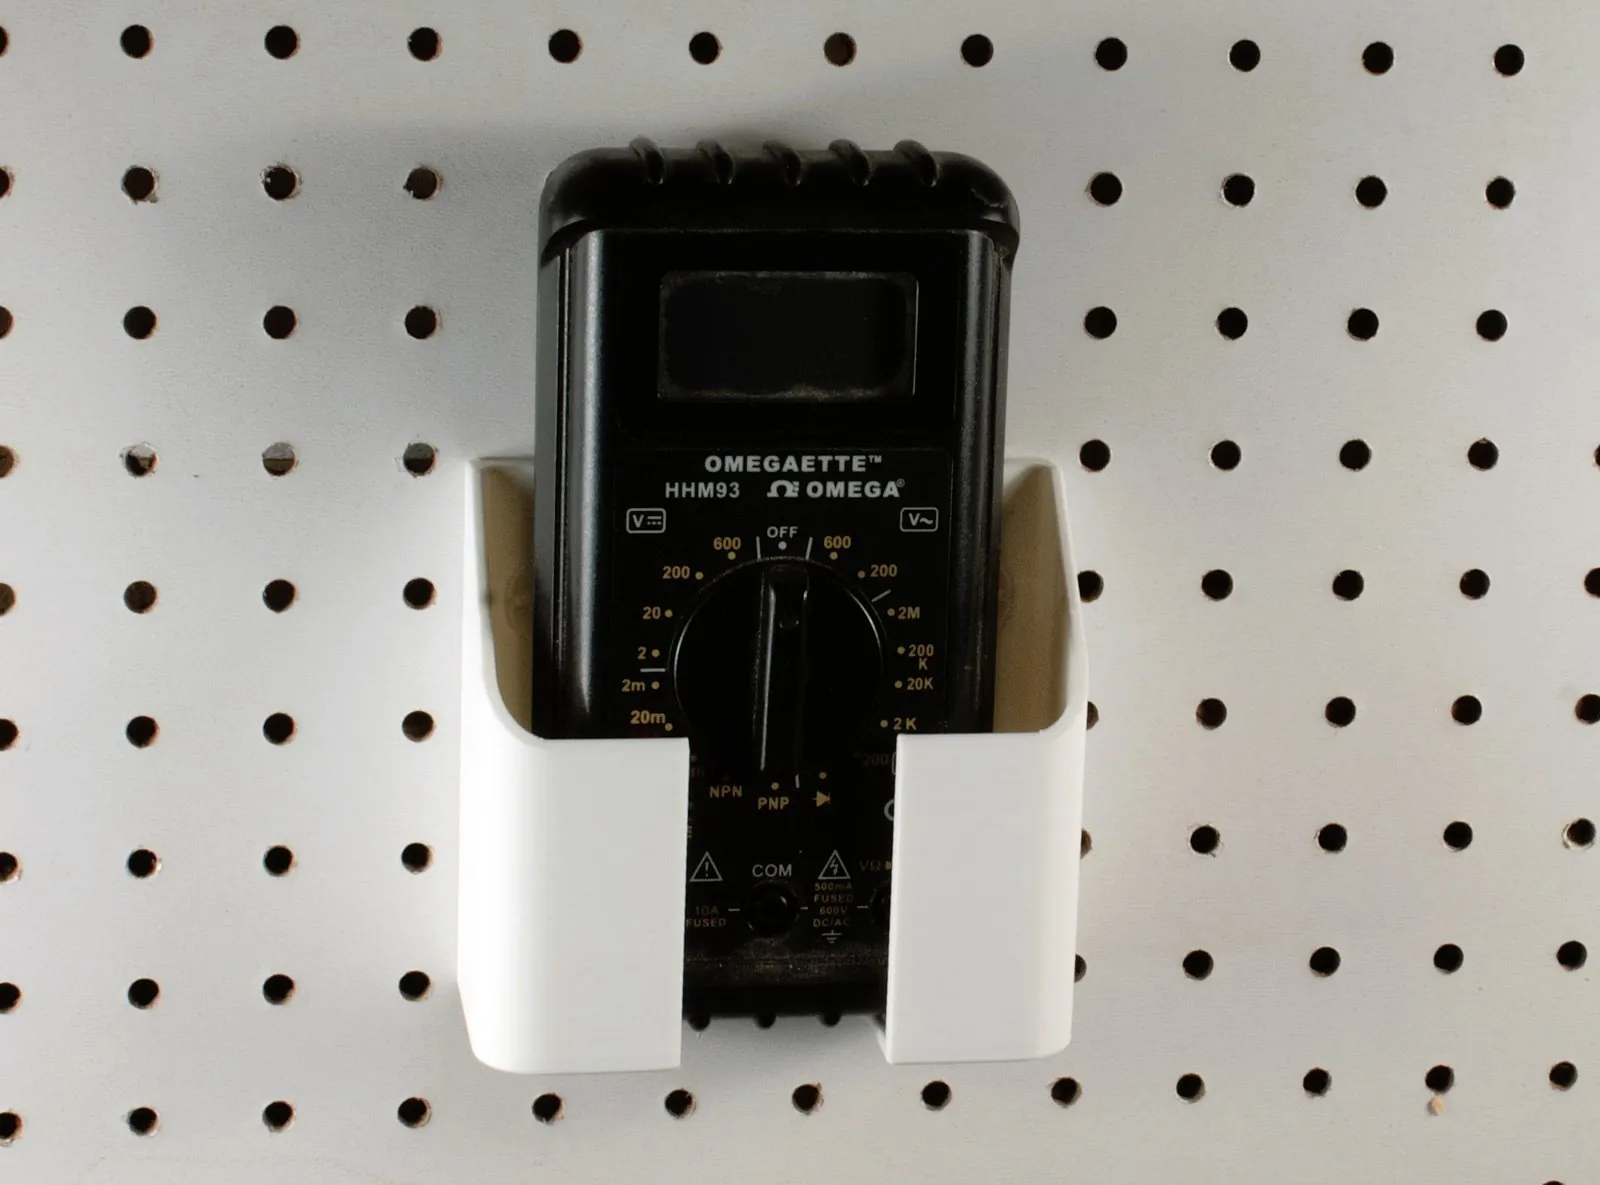
I made it for my Husky 1/4" driver set, a ratcheting driver with sockets and bits in a case about 4 x 8 x 1-3/4 in. (102 x 203 x 44 mm). Any case or tool close to that size should fit. It also holds my Omega HHM93 multimeter.
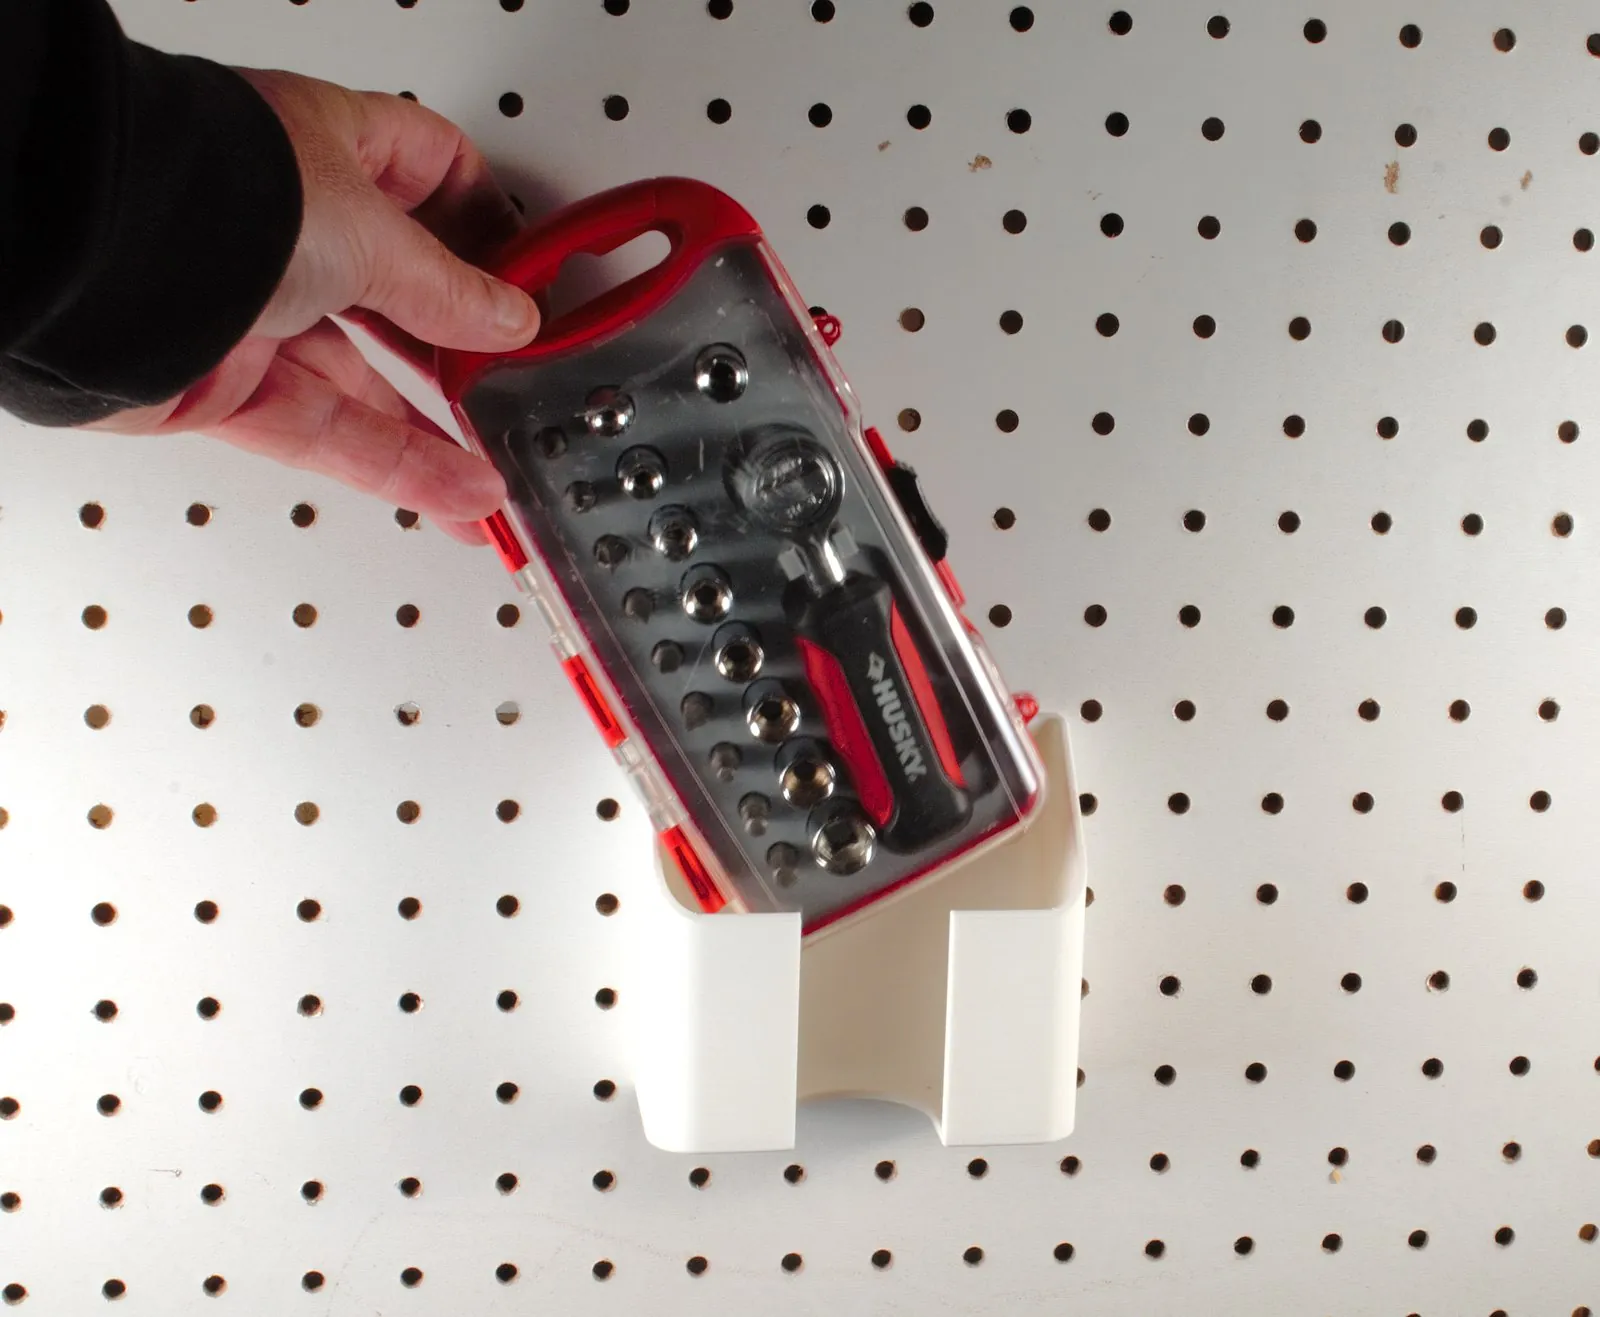
A 1-1/2 in. slot runs down the front and into the floor, so you can reach in and push the case up and out. The outside is 4.36 x 1.98 x 4.00 in. (111 x 50 x 102 mm), and the pocket is about 4.12 x 1.62 in. (105 x 41 mm). Measure your case before you print. If it doesn't fit, the STEP file lets you resize the holder.
The screws
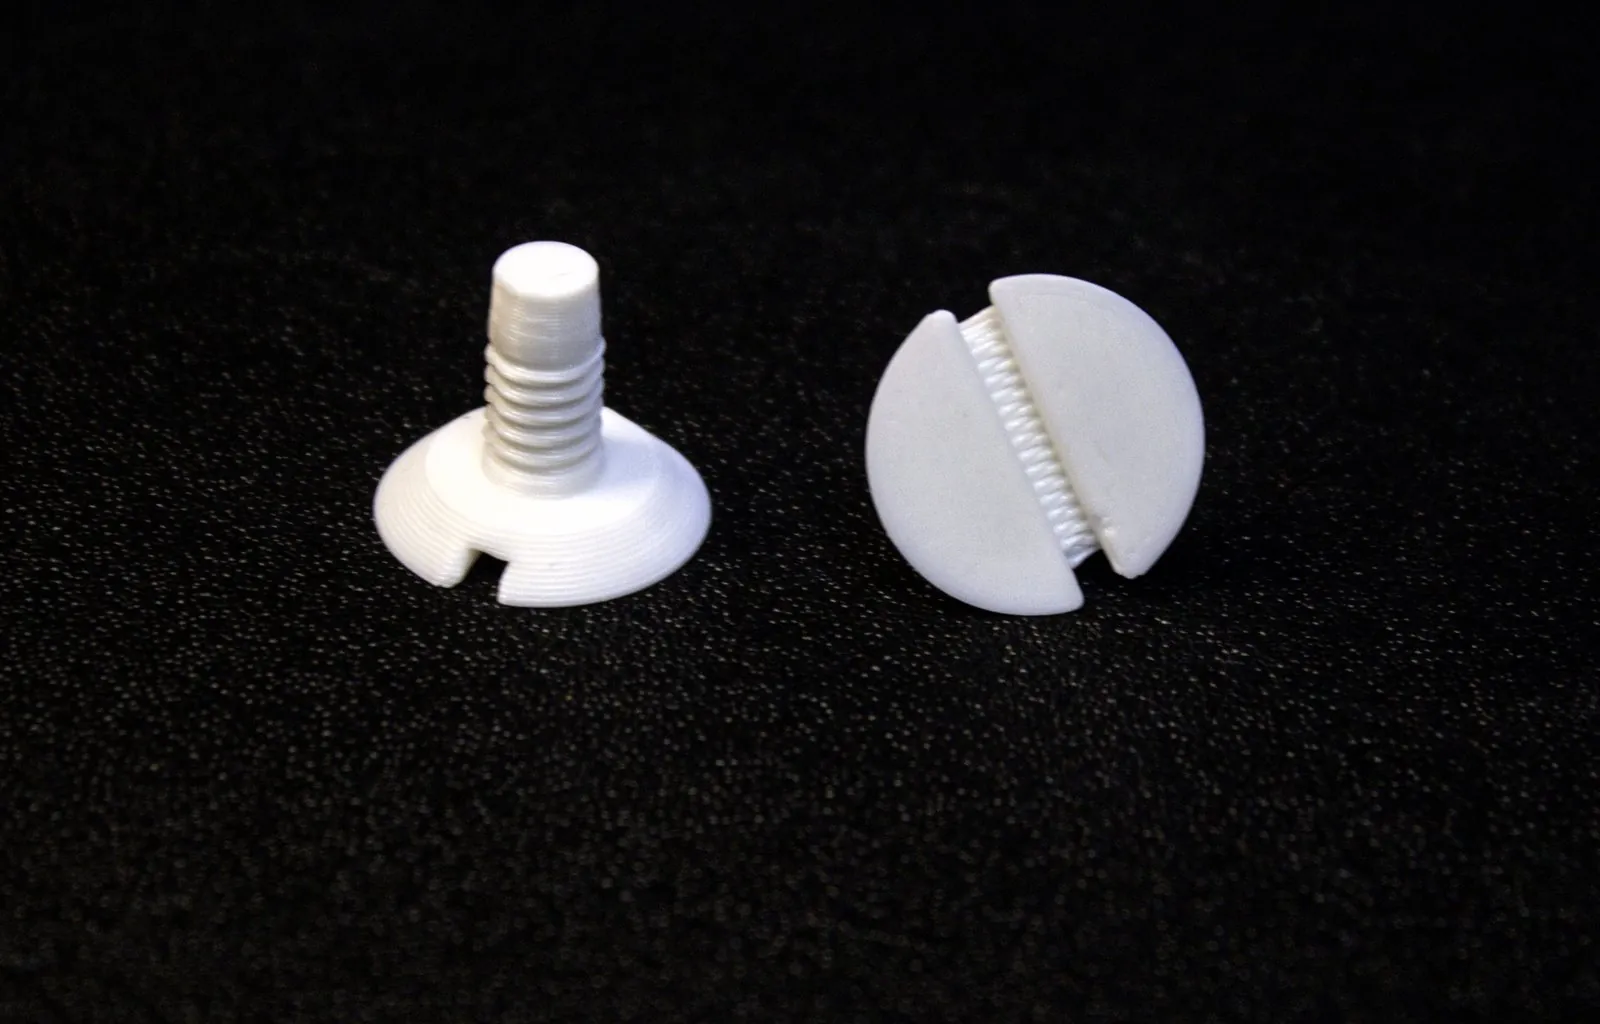
The screws are what make it work.
- They grip the hole. The 1/4-20 UNC thread is made oversize, 0.265 in. (6.7 mm) across in a 0.250 in. (6.35 mm) pegboard hole, so it bites into the edge of the hole.
- They center themselves. A tapered tip, 0.125 in. long, drops into the hole and lines the screw up as you start it.
- They take a flat-head screwdriver. The slot is 0.080 in. (2 mm) wide.
- The heads sit flush. The 90° countersunk head seats in a matching countersink in the holder.
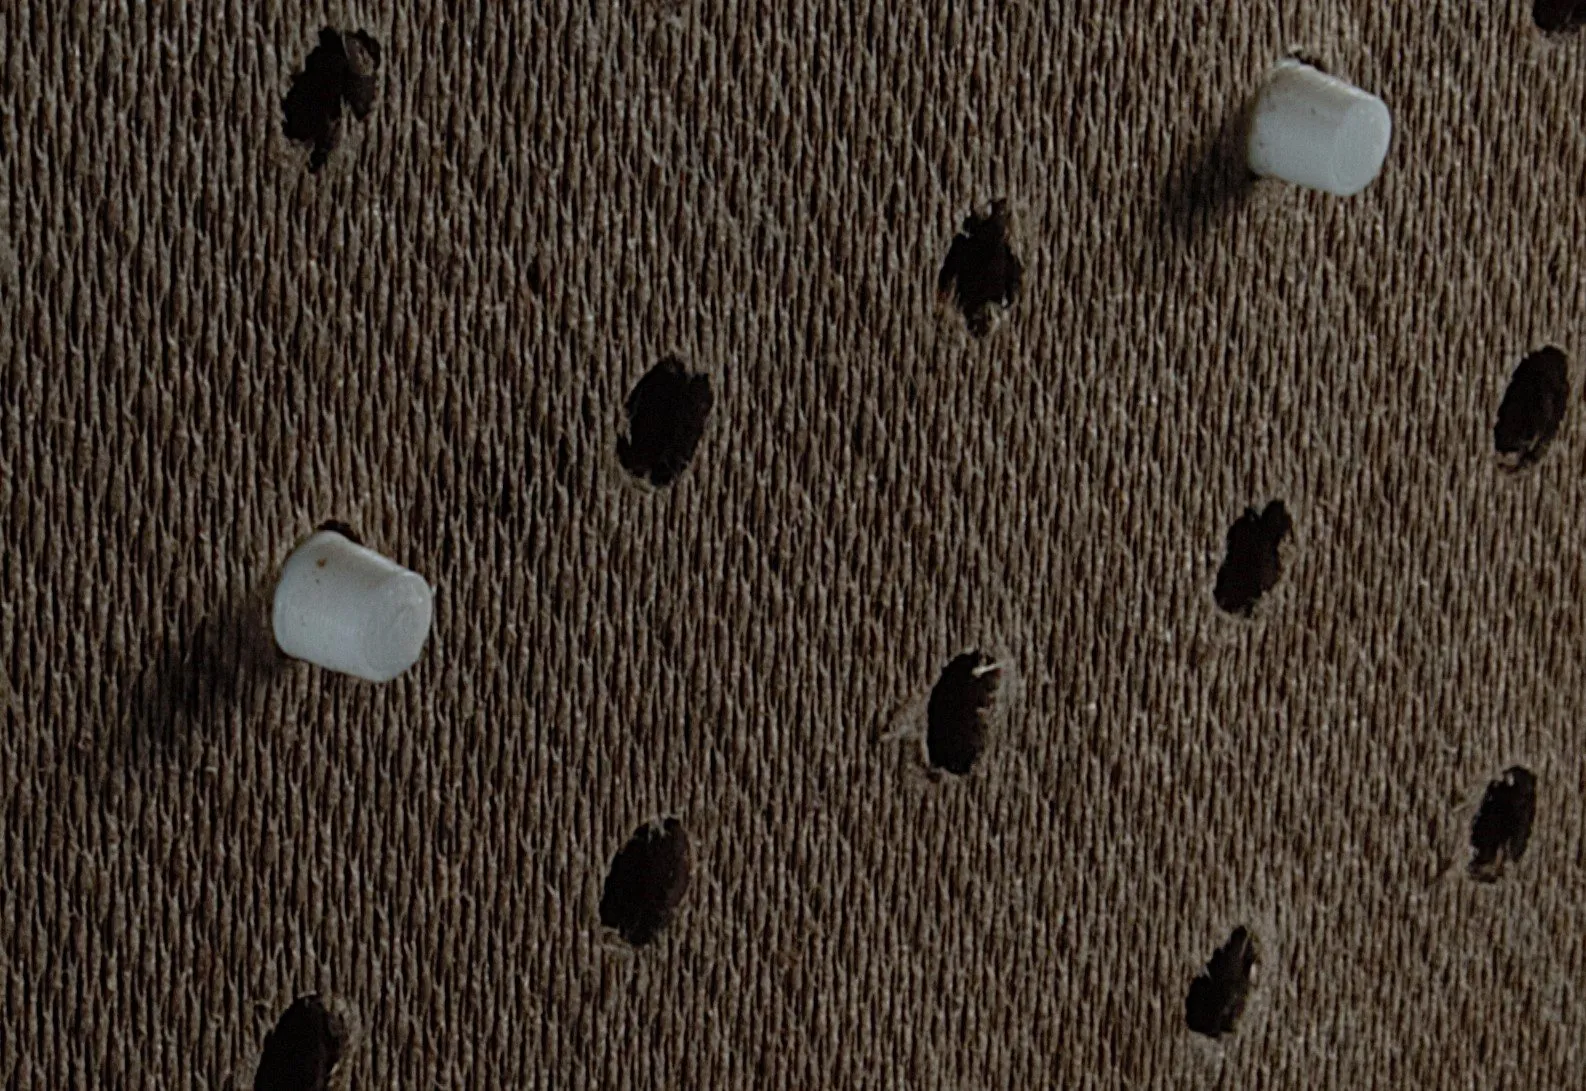
On 3/16" hardboard pegboard the tips poke through the back of the board. The two mounting holes are 3 in. apart, so they line up with holes three apart on standard pegboard with 1/4" holes on 1" spacing. It is not for IKEA Skådis or other slotted boards.
Printing it
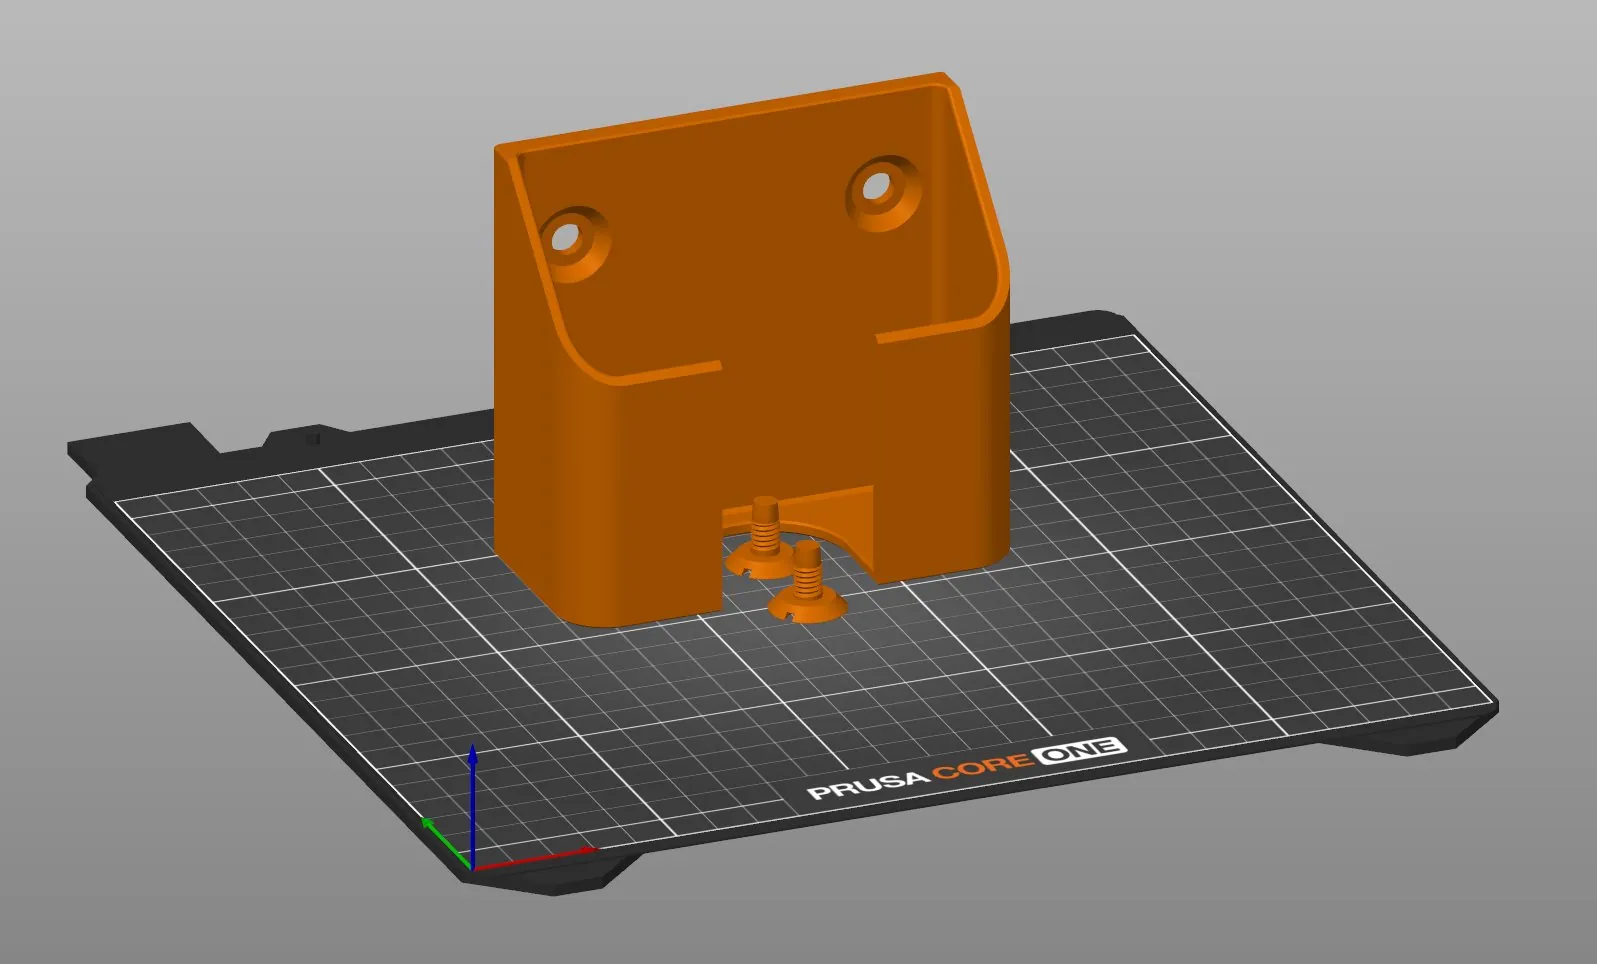
The holder and both screws print together on one plate with no supports. I printed mine on a Prusa CORE One with the stock 0.25mm BALANCED profile in PrusaSlicer 2.9.6, in Prusament PLA. The plate takes about 76 g of filament and an hour and a half. The Printables page has the full settings.
Putting it up
- Hold the holder against the pegboard and line up its two holes with two pegboard holes three apart.
- Start each screw in its hole. The tapered tip centers it.
- Turn the screws in with a flat-head screwdriver until the holder is snug against the board. Stop there, because plastic threads strip if you overtighten them.
- Slide the case in.
To move it, unscrew it and screw it in somewhere else.
I drew it in SolidWorks, like the smaller driver rack in the STEP Importer post, and the STEP files on Printables open at the right size in PrusaSlicer or Blender.
Get the files
Screw-In Pegboard Holder for 1/4" Driver Set Case on Printables. It is free under a Creative Commons Attribution-NonCommercial license. If you print one, please post a Make there and say what you put in it.