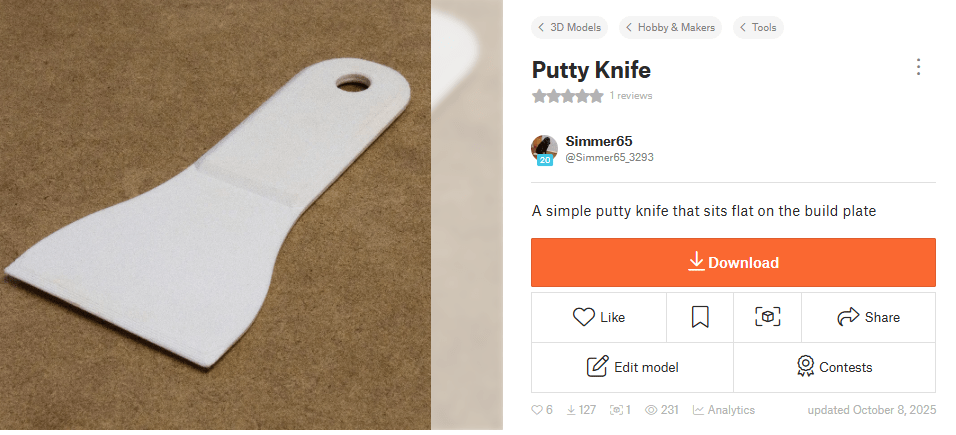
I Saved $49 in 30 Minutes (I did the math for you)
I needed a putty knife at work. No big deal, right? Wrong. Instead of burning an hour and $58, I sketched one on my tablet, traced it in Blender, and 30 minutes later I had a perfectly usable tool in my hand.
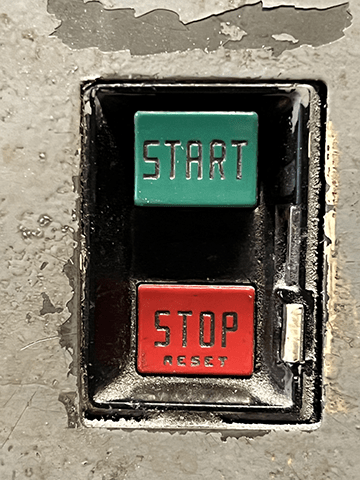
I posted a start/stop button on CGTrader today. I was looking for something to model in low poly and I was inspired during a walk through our machine shop. The start/stop button on the bandsaw is a little detail that can be added to machine models.
Reference Photo
My idea was to model it buttons with details (hi-poly) and then again with no-details (lo-poly). Then bake the diffuse and normal maps from the hi-poly model to the lo-poly model. It didn’t work as suspected.
When I sit down to create a new model, I try to come up with something that will be helpful to someone creating a complex scene. Today’s addition is a safety barrier. These barriers are often used in industrial settings or somewhere that needs crowd control.
It was modeled with curves in Blender and then converted to a mesh. The material is very simple. It’s a yellow, non-metallic surface with some procedural bumps to make it look like paint.
When I am tasked with modeling old equipment, I like to do a photo scan (photogrammetry) first. This allows me to go back when I’m done with the design and compare important features. If you have ever made a part and then discovered it was off by 1″ when you went to install it, you’ll understand the value of this.
I once designed a bracket for a generator. I used a tape measure to draw the as received part. Normally, when I use a tape measure, I don’t use the end of the tape. I just don’t trust that the end isn’t bent or the slot in the tape that allows the end to move 1/16″ isn’t damaged. I line up one edge with 10″ and then take the measurement subtracting 10″ from what I read on the other end.
Well…I use 10″ now. I used to measure by lining up the first edge with 1″ and this created the problem with the generator bracket because I forgot to subtract the 1″. The bracket was about 20″ tall and I forgot to subtract the 1″ from the measurement. If I had started with 10″, my error would have been obvious when I was drawing the new bracket.
The lesson learned was that initial measurements are sometimes wrong. If you are modifying a design, that initial photo scan can tell you alot.
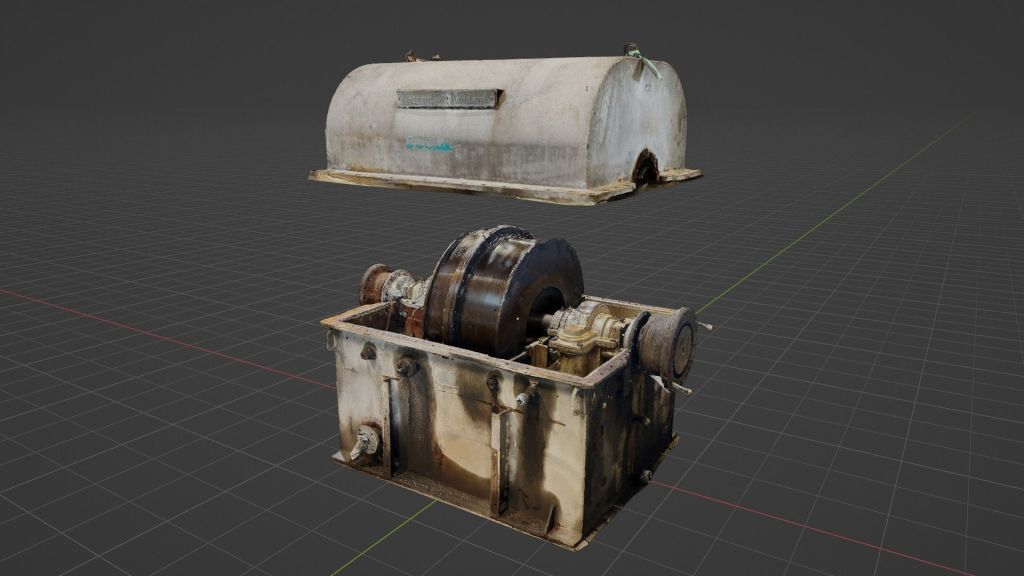
So…today I scanned a fluid drive. This is an old American Standard Size 315 Gyrol fluid drive. The size “315” refers to the diameter of the oil circuit inside the fluid drive where 315 = 31.5″.
Even though 99.999% of artist don’t know what a fluid drive is or how it works, they may find the old authentically dirty look an interesting addition to an industrial scene. I didn’t do much work after scanning it. So if you want to use it in a large scene, you may want to decimate it a bit.
I took a break from creating CGTrader models for a while. When CAD work fills my day, it’s hard to get motivated to do even more drawing when I get home. Fortunately, I have a job where I wear many hats and lately I have been doing more Photoshop and Blender work, and it has inspired me to get back into Blender modeling.
I have started modeling again.
Today I modeled a platform truck. The only place I have ever seen these trucks is at Home Depot or Lowes, but maybe it will come in handy for someone.
My day job has me designing an oil recovery system for a hydraulic coupling. It’s a complex oil system that uses a residential oil tank. I was surprised to find little in the way of online resources for such a common architectural 3D asset.
So I spent a little extra personal time on this model. I modeled the tank in Blender 2.9. It’s a 275 gallon Granby vertical oil tank. It is available at CGTrader:
By day, I work in a machine shop where we have tons of items: Some common, some uncommon, but all dirty. Today’s model is a yellow container we used to transfer hydraulic oil from a 55 gallon drum to the our machine tools.